Author Archives: Ben Mitchell

Locked out.

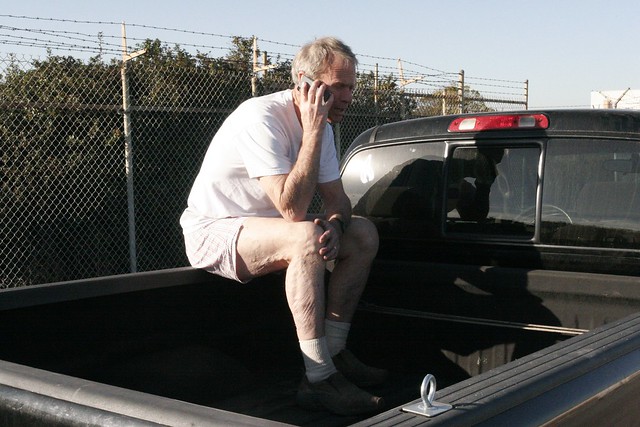
So, my dad refuses to get in his rather old, rather dirty truck wearing his boat building clothes.  He fears it will get his car dirty.  At the beginning of each day, he changes clothes in the parking area in front of the shop.  At the end of the day, he changes back.  It’s important to make sure your doors aren’t locked when you put your clothes inside the car – with your keys in your pocket – and close the door.  Otherwise you might end up sitting in your underwear in the bed of your truck, talking to AAA on your son’s phone.

But I digress…

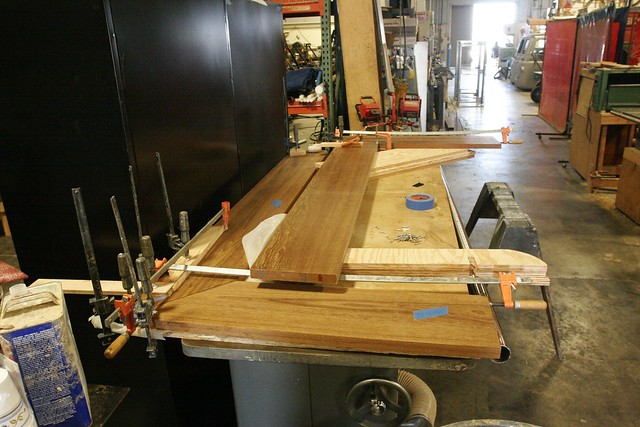
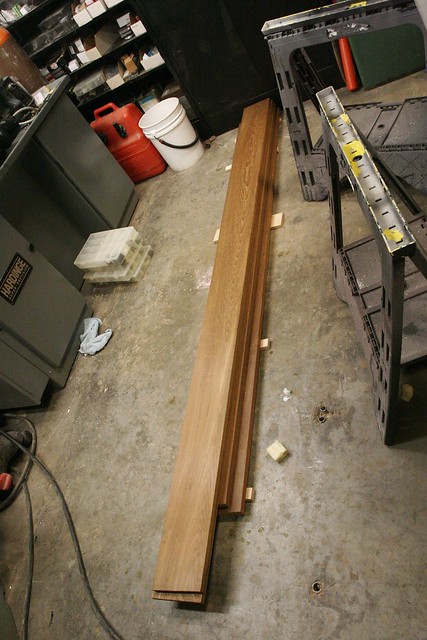
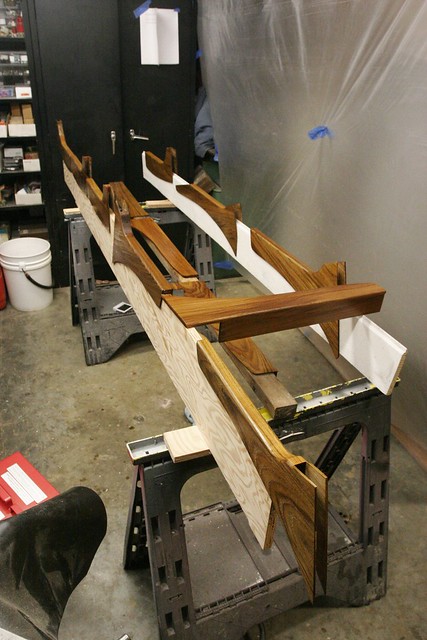
We’ve been making good headway of late, though sadly I haven’t done a very good job of taking pictures.  The teak coverboards are almost fully fabricated at this point.  Just a bit more futzing about and they’ll be ready for varnish.  Very, very exciting.  Here’s a photo from a week or so ago.  They’re much more evolved at this point.


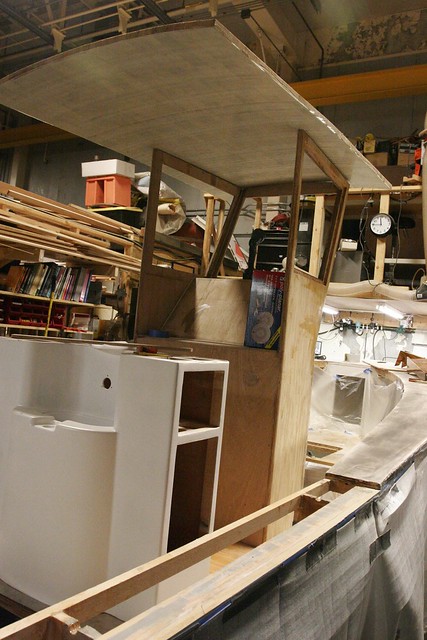
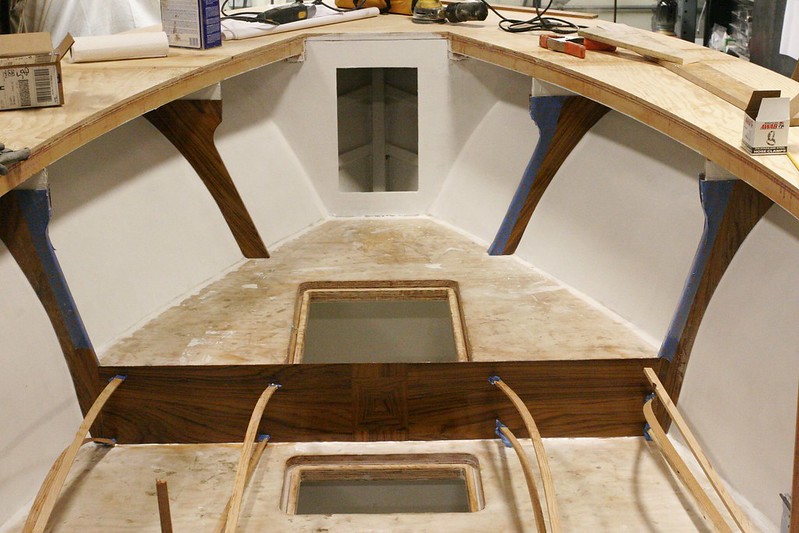
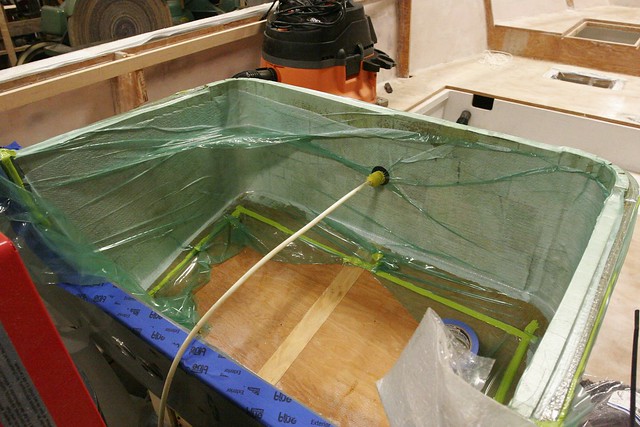
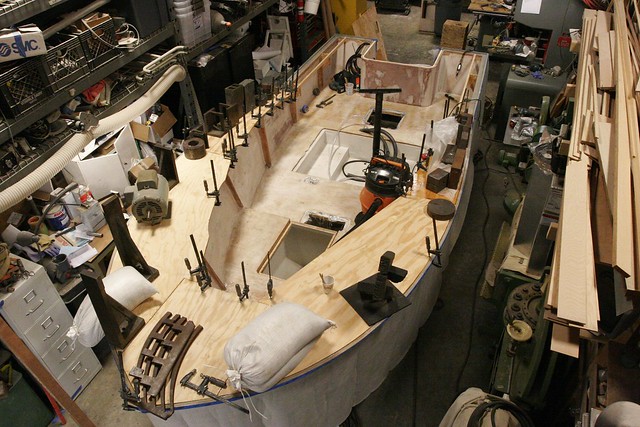
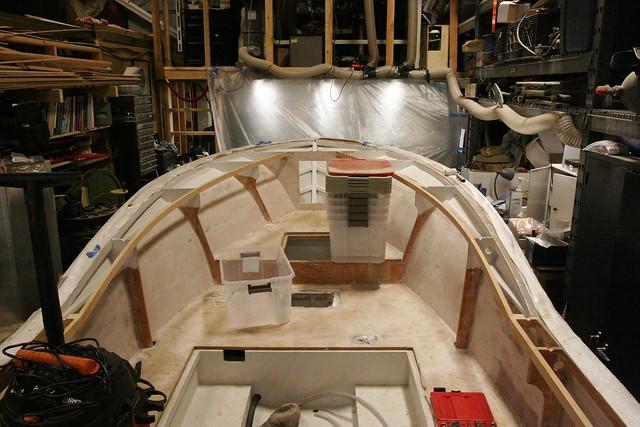
We’ve also laid up the roof of the pilot house.  Or at least we’ve partly laid it up.  We built a form for the curve and bagged 1″ balsa to the bottom sheet of 1808 glass.  We need to route channels for the wiring through the top and install some hard points, and then we’ll put the top glass on.  Here are a few photos of all the “furniture” in the boat with the top on.

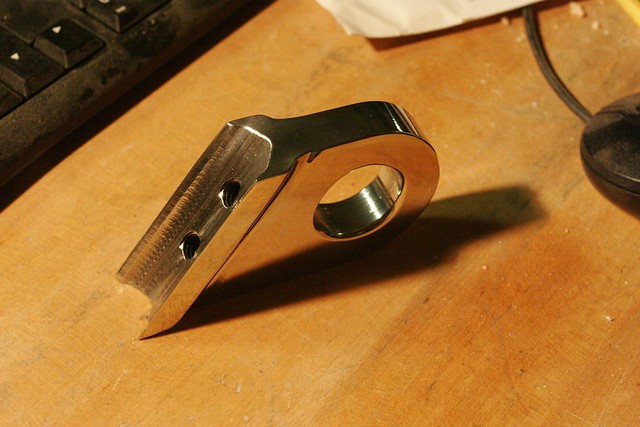
Oh, and I couldn’t find a bow eye I thought looked good, so I machined one.  It’s not perfect – there are some lumps and bumps I wish weren’t there – but it’s a lot better than what I could buy.


That’s it for now.  Starting to feel like the home stretch.


-Ben


One step forward…

Hello, intrepid followers of the ordeal!

In our last installment, we learned of a number of trials and tribulations that have impeded progress.  Since then, the chase covers have been reconstructed and plied with 4 coats of varnish and 6 coats (and counting) of AwlBrite.  Still need a few more coats before they go on, but we’re getting close to unbottlenecking this thing.

I realize that I never showed a photo of how these things are fabbed.  While they’re being finished as single pieces – one for each side – it’s important that they can be taken apart later if need be.  (Picture a rotted out fuel hose 15 years down the road.)

I’ve built them in halves and held them together with interference-fit stainless pins.  The varnish and a little tape on the back of the seam is plenty to hold them together, and if I ever need to split them down the road I can just slit the finish with a knife and pry the removable half away.  Here’s a photo of one of the units disassembled.

And here they are as of now:
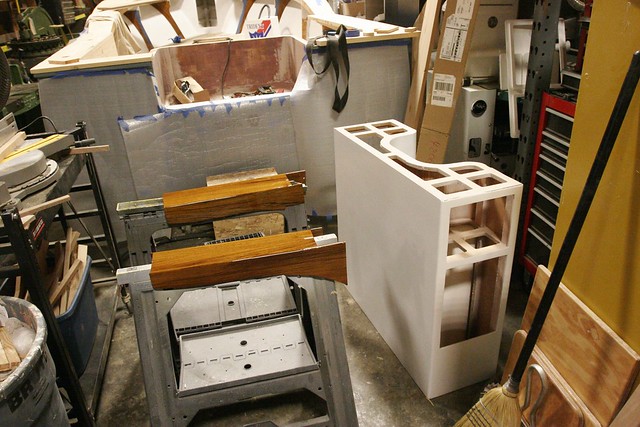
Note the leaning post next to them?  That’s one of the things I’ve been spending time on while waiting to get un-blocked on the chase covers.  It’s been sanded smooth, the pinholes are filled, and a couple of coats of AwlGrip 545 epoxy primer have been applied.  Just needs to be sanded to about 320 grit and given its final coat of glossy white.

Also while waiting around we decided to get started on the console.  Because the weather can be pretty crappy here in NorCal, I’m compromising the aesthetics a bit and installing a doghouse style console with glass windows and a hard top.  This will let me stay a bit better protected, and also install a windshield wiper.  We first wheeled her outside and tested this mockup to see what we thought:
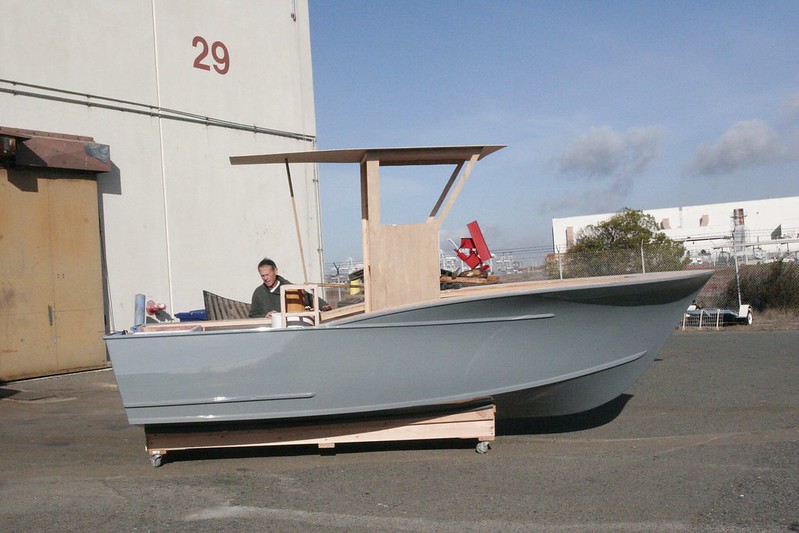
It was a little big, so we took some notes and made a few modifications and then started construction.

I should probably point out that moving the boat is fraught with peril.  We’d been lucky so far but, sadly, when wheeling her out this time we made a bit of a mistake:
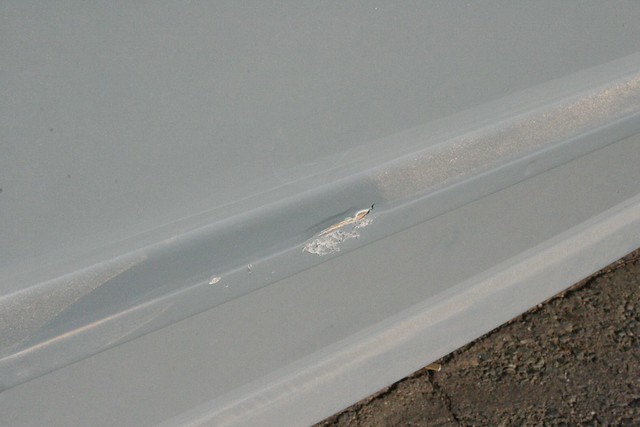
Fortunately this is in a spot that’s easy to fix.  But it’s supremely frustrating.

Anyway, the final version of the console was always intended to have a curved face, so we started by creating a form and building that.  This process should be familiar to those of you who’ve followed past progress.  We just scaled it up a bunch.

Then we cut our panels for the sides and upper front, and bonded it all together:
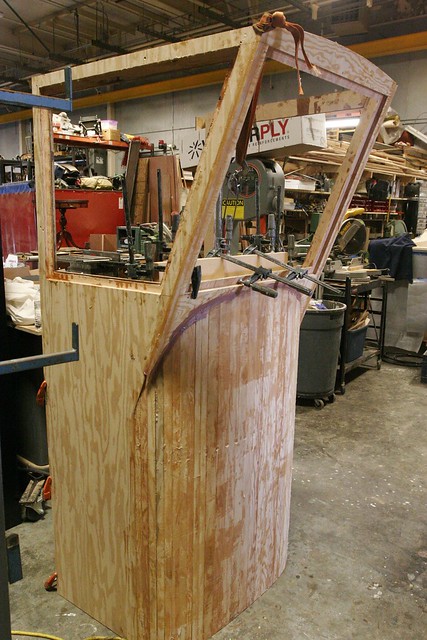
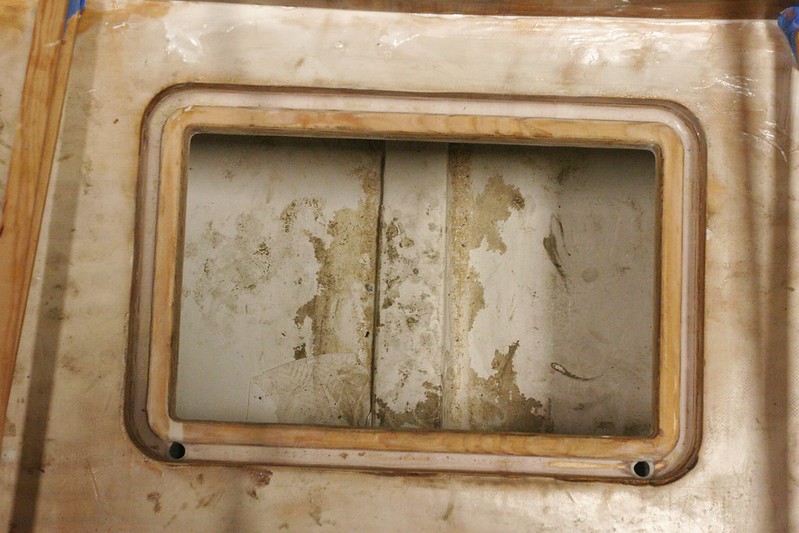
Some notes here…  The windows will not be framed as you’d find in so many boats this size.  The glass will be bonded to the frame directly using a special adhesive made for this purpose.  In essence, they all go in just like the windshield in your car.  To do this requires a pretty deep rebate so that the glass will be flush with the sides of the house.  The glass is 1/4″ thick and the adhesive needs a 3/8″ bead thickness so it can expand and contract properly.  That’s 5/8″ total.  The walls of the house were cut from 3/4″ ply which leaves only a 1/8″ thick strip for the windows to bond to.  Not enough.  1/2″ ply strips were bonded to the ply around the windows in these areas to provide enough structure.  All the areas visible above the console surface will ultimately be faired out to this thickness making the walls appear to be 1.25″ thick, though it really adds very little weight since it’s a small total area.

We’re presently installing the console surfaces on the inside, after which I can (a) take measurements to start fabricating the teak helm pod, and (b) sand, glass and fair the wheelhouse.  While I didn’t intend to do things in this order, it’s good we’re getting a head start on the house.  It’s going to take a while to do and it’s good “gap filler” work when stuff is drying on the boat.

I ordered a whole bunch of the parts that remained to be sourced last night.  Plotter, radome, sounder unit, stereo, speakers, VHF, antenna, steering wheel, nav lights, battery charger, and probably a few other items.  My bank account hates me, but at this point there’s actually little left to buy: White paint for the interior, windows, windshield wiper, teak decking, and some of the electrical items (switches, breakers, batteries, etc).

Starting to feel like there’s light at the end of the tunnel!

-Ben
Plodding along…

It took forever, but I finally finished applying finish to the teak cladding assemblies.  The varnish I applied in my apartment went on as expected.  The 3-part poly was the foulest smelling nastiness I’ve ever worked with.  And it took many more coats than expected to get the grain filled.  I think they’ve got 14 coats on them at this point.  But they’re beautiful, and THEY’RE INSTALLED.

That happened on Monday.  It was the only thing that went well on Monday.

After bonding in the covers I went to install the fuel lines so I could bond the station 5 chases over the top.  It was then that I realized that the hole I’d drilled for the hoses was too small.  This was the same hole I used to size the chase.  By applying the transitive property, you likely now understand that the chase was undersized as well.  The chase it took two weeks to apply finish to.  CRAAAAAAAAAP!  This is likely to cost a lot of time.

Anyway, the chases came apart and had the finish removed and are now being rebuilt to accommodate the actual size of the lines that run through them.  Grumble.

After that little debacle, I decided to work on the fuel system.  I’m doing things a bit differently than Timm intended so I needed to move some fittings around.  When I unscrewed them I discovered they’d been installed so tightly that the threads had stripped off the fittings and remained behind.  CRAAAAAAAAAAP!  Fortunately, RDS Aluminum is being very nice about this and is sending me new ones for free.  But it costs time.

On a brighter note, I’ve started working on finishing out the hatch gutters and have installed drain tubes.  That went entirely according to plan.  As-designed the gutters have a square profile.  This is tough to keep clean, so I filled them with some thickened epoxy and then took a top-bearing ball-nose bit and radiused the bottoms.  I’m very happy with how this is working out.


Today we started fabbing a mockup of the console to test the size/look of the thing.  We’ll put that in tomorrow to see how it looks.


-Ben

Decks and such.

Since last we touched base there has been more odd job activity, as well as some big steps.

There’s been some ongoing varnishing, though at this point I’m basically waiting for the AwlSpar coats to dry enough that they can be overcoated with the AwlBrite.  AwlSpar I was willing to do in my apartment.  AwlBrite, notsomuch.  About half the contents of AwlBrite start with “hexa.”  For whatever reason (someone please explain to me if you know!) it seems like chemicals that start with hexa are really frigging bad for you.  Hexavalent Chromium?  Yeah, I saw Erin Brockovich.  The list goes on, but I won’t bore you.  Anyway, even though I’ve got things all masked off so that basically I don’t smell anything outside my kitchen – where I make food – I’m not going to bring that crap into my house.  This is a problem in that it needs to cure in temperatures well above what our current SF winter is providing, but I’ll figure something out.

One thing that you, dear reader, have not yet seen is the veneer I built for the face of the step up to the forward casting platform area.  I decided to add a bit of flare here and represent the day shape for a boat engaged in fishing in teak inlay in the middle of the step.  For those who haven’t sat through a USCG certified captain’s license exam, day shapes are visual signals hung on boats during the day to signify certain things.  At night you use lights.  Here’s the day shape for a vessel engaged in fishing:


Here’s the fascia for the step.  See it hiding in there?:

Okay, actually, nearly everything I just said is a flat out lie.  That is, in fact, the day shape for a commercial fishing vessel engaged in fishing, but the truth is that the two remaining pieces of veneer I had weren’t wide enough to cover the step with the seam dead center, so I pieced some scraps together to make that inlay and make the whole thing a few inches wider.  It only occurred to me later that it kinda looked like the day shape.  But I like the other explanation better.

When not at home huffing varnish, I’ve gotten some big stuff done.  On Tuesday I bagged the balsa to the inside of the motorwell to thicken the walls.


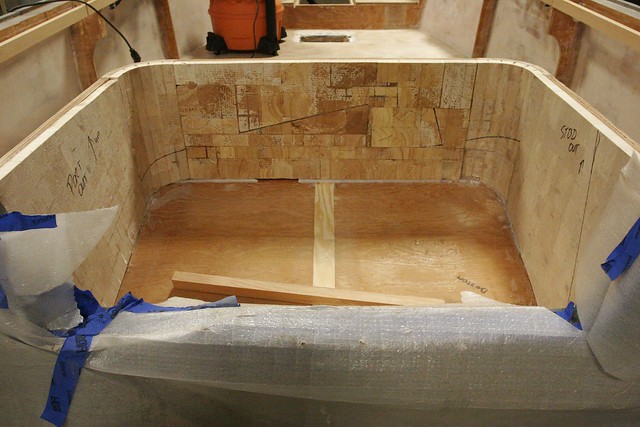
This was a rather time consuming process, principally because I decided to use up the scraps of balsa I had left over from doing the hullsides and this quickly turned into a game of balsa-tetris trying to get the entire surface covered.  I make a point of trying to be efficient in my use of material.  I might have gone too far this time, but it worked in the end.


Today, I had my dad back on the job so we did what was definitely a 2-person job:  shaping and bonding the forward decks.  Here they are, all “clamped” in place.  I was out of bronze and stainless screws and didn’t want to go to the store, so we scrounged around the shop and found everything we could that was heavy to compress the decks into the epoxy.  The casters of the dolly she’s sitting on were less than thrilled, but they’re holding in there.


I also spent some time trying to shape the drain openings to the motorwell.  I’m close, but there’s still some fine tuning to do.


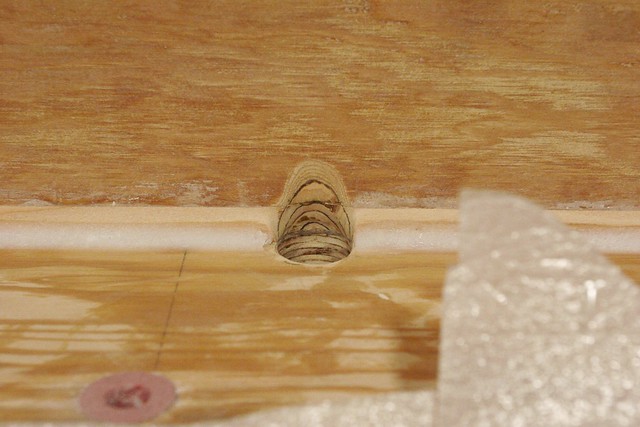
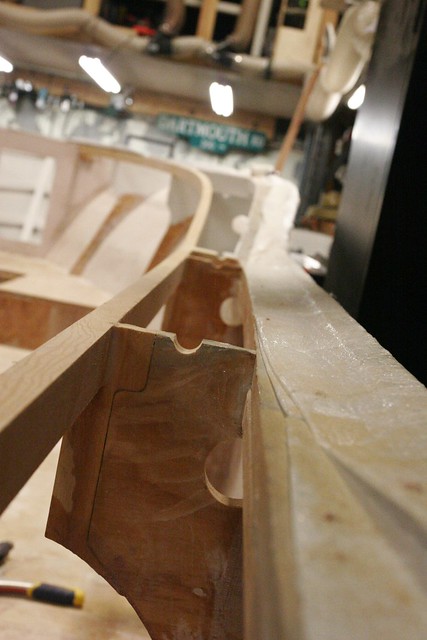
And in a similar vein, I got out the holesaw and drilled the routing holes in the aft starboard frames so I can get the steering and electrical lines to the motor.  While I was at it I drilled smaller holes in every frame for whatever random routing ultimately needs to happen down the road, and then had a bit of a brainstorm about under-gunnel courtesy lights and realized that if I notched the tops of the frames, rather than just drilling holes, I could run an uninterrupted length of LED ribbon down each side.  This would be much faster to do, and would have fewer connections that could go bad.  Here’s what those look like:


It’s been an expensive few days.  I ordered a bunch of parts for the fuel system, all the steering components, and bought teak for the cockpit gunnels and inwales.  Wanna see how much teak you get for $1000?  This stuff is $35/BF.  Crazy.  But there really isn’t anything else that comes close.


Odd jobs

We’re at the point with this project where there are lots of little details to sort out.  You bust ass all day feeling like you’re doing stuff, but at the end of the day the boat still looks pretty much the same.  Sigh…

That said, there has been a bunch of stuff accomplished, some of which actually shows when photographed.

First off, I’ve cut the opening for the anchor locker door and applied InterProtect 2000E to the anchor locker, as well as the hidden portions of the hullsides far enough up that we didn’t bother to fill them with balsa.  While I was at it I did the tops of the frames since the teak covers won’t extend very far above the bottom of the inwales.

Untitled

Sorry about the curiously placed plastic crates in that photo. I got them down for a friend that wanted to use one and didn’t have it in me to climb back up and put them away at the end of the day.


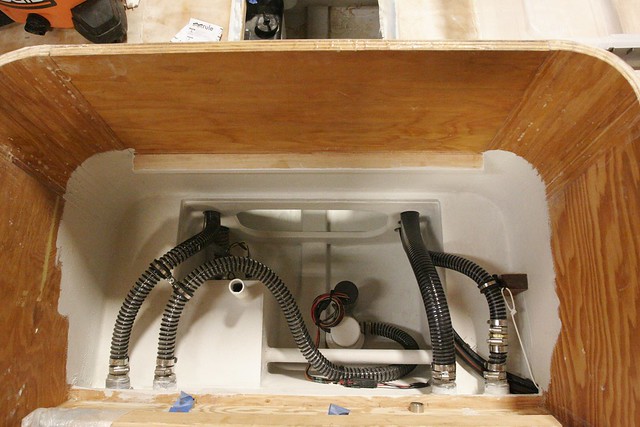
I’ve also … finally … finished the work in the transom area.  Here you can see the results.  the hose furthest to port (left) is the outlet from the forward bilge hose.  Moving to starboard, we have the outlet from the aft bilge hose, the outlet from the bait tank, and finally the outlet from the sump pump.  To keep things from moving around too much I tied the port side hoses together with clamps.  This made a big difference.  On the starboard side, I actually added a block that I could attach a clamp to for the sump outlet.  I did this because the sump hose is 1″, but the throughhulls I found didn’t come in 1″, only 1 1/8″.  I had to adapt using barb fittings and a short length of 1 1/8″ hose, which means there’s a lot going on there.  I wanted it well supported.*

Untitled

If you look at the starboard side under the throughhull plumbing you’ll see some wiring and hoses that disappear into the corner. That’s the fuel line, the oil line, and the oil level sender cable. They route up through the fillet-chase on the outside of the motorwell. There’s also a piece of leechline tied off to the hose mount. That’s a pull cord in case I ever need to get anything else through that chase.

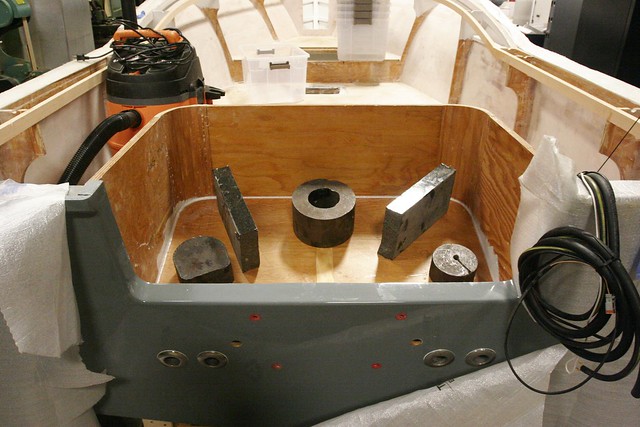
Having now finally finished everything I could think of in the transom area I boldly decided to do something that looked vaguely like progress and I bonded in the motorwell bottom. Here it is with a bunch of steel drops and some scraps of granite holding it down while the epoxy cures. Also to the right in this photo you can see the hoses and wires that are run up the chase:

Untitled

Further progress on the hullsides is somewhat impeded by the varnishing process for the frame covers. I’m still deciding if I want to prime before or after putting those on. In the meantime, the kitchen in my apartment is masked off to try to keep the fumes down while I varnish the covers here. It was just too cold in the shop.

While the varnish is going on – it’s going to take quite a while – I can now begin work on the gunwales and the inner part of the motorwell. I may also take a crack at mocking up the console to make sure I like what I’ve designed on paper.  Would be good to get that in progress sooner than later.

-Ben
 

*Note:  1 1/8″ barb fittings in bronze, brass or marelon are scarce as hen’s teeth.  Originally I used a plastic adapter that’s purpose built for going from 1″ to 1 1/8″, but I got nervous about using plastic since this would be a bear to change later.  (Doable, but annoying.)  I bought a 1-1/4″ threaded barb fitting in brass and turned the threaded end down to a barb I could get into the 1″ hose, and the 1 1/4″ end down to a 1 1/8″ barb and used that instead.  I feel better now.

Brightwork! And more futzing about in the transom area…

By far the most exciting development of the past days is that the teak covers for the plywood frames are assembled and sanded, and as of this evening have a few coats of varnish on them.

Untitled

I did two fast coats thinned to 50% with brushing reducer, and then one coat of full strength varnish.  The thinned coats (a) dry a bit faster so you can overcoat more quickly, and (b) absorb a bit more deeply to penetrate and seal the wood.  At this point we’re just going for grain fill so the name of the game is to get as much material applied as fast as you can without it alligatoring when it dries and/or running too badly.  It’ll all get sanded (a lot) soon anyway, so it doesn’t have to be amazingly smooth or well applied.  We’re just filling grain.

I’ve decided to go with AwlGrip’s “Ultimate Brightwork System.”  This consists of a lighter than normal application of spar varnish using AwlGrip’s AwlBright, followed by a whole lotta AwlClear clear polyurethane.  On other projects I’ve always used Epiphanes spar varnish, but I’ve heard good things about the AwlGrip system so I’m giving it a try.

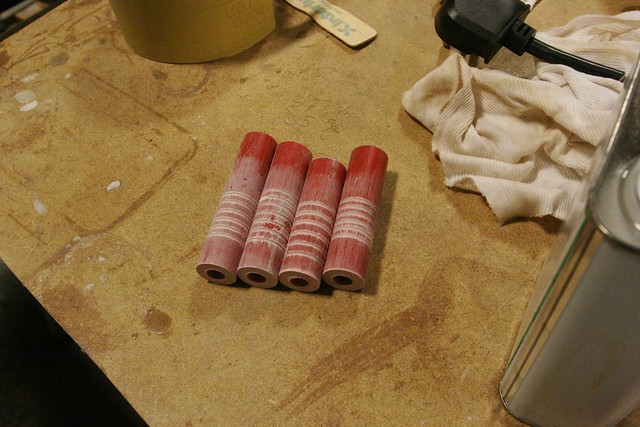
Other progress includes the installation of fiberglass bushings to better protect the wood of the transom from the stresses of the motor bolts.  As I think I said before, I was originally planning to just put some sealant around the holes and call it a day, but at Timm’s recommendation I’m getting fancier.  I ordered some 1″ fiberglass rod from McMaster and cut four pieces of the approximate length required to pass through the transom fully.  These went into the lathe and got center drilled.  While I was at it, I added a few randomly located “gouges” to them so there was something meaty for the epoxy to bind to when they were bonded to the transom.

Untitled

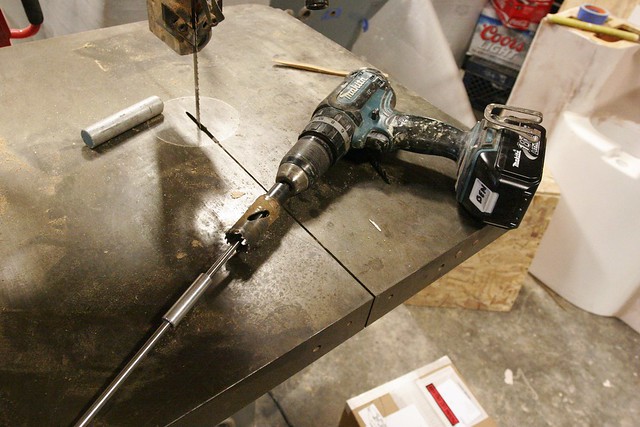
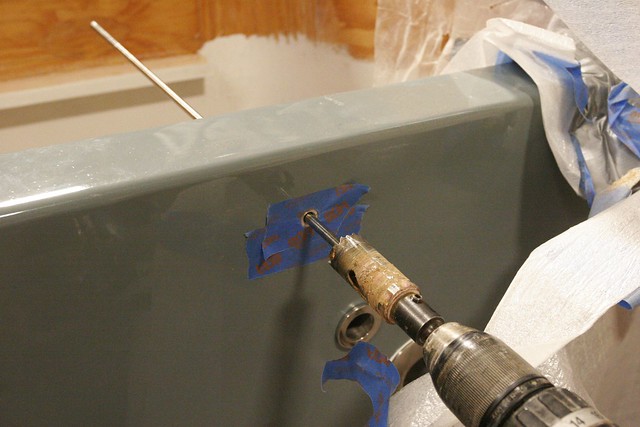
Then I had to drill out the existing 1/2″ holes to the new, 1″ diameter.  I was worried about relying on a standard 1″ drill bit to self-center on the 1/2″ hole, so I quickly fabbed up an aluminum drill bushing that was 1/4″ ID by 1/2″ OD.  This went in the existing holes, and guided the 1″ hole saw in my now-proven method of using a 1/4″ piece of stainless rod as a guide in place of the normal 1/4″ hole-saw pilot bit.

Untitled
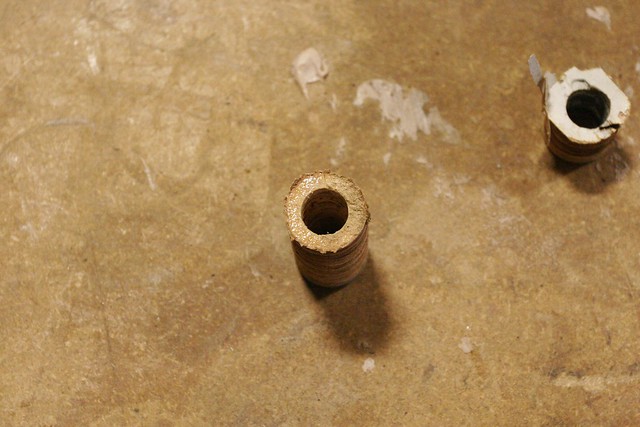
Using this approach allowed me to get the 1″ holes quite concentric relative to the original ones, as the photo of the plug (below) shows.

Untitled

This might help to visualize the strategy a bit better:

Untitled
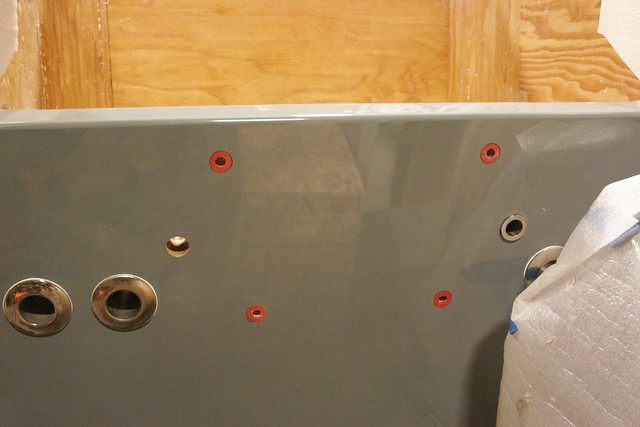
Once the holes were drilled, it was pretty straightforward to bond in the bushings:

Untitled
Theoretically, once this is all cured I should have no worries at all about water getting into the transom around the motor bolts.

Now that this is done, I can put the bottom in the motorwell and start finishing it out.  And there’s more varnish to apply.  And…  Well, there’s still lots to do.


-Ben