Category Archives: Paint

Odd jobs

We’re at the point with this project where there are lots of little details to sort out.  You bust ass all day feeling like you’re doing stuff, but at the end of the day the boat still looks pretty much the same.  Sigh…

That said, there has been a bunch of stuff accomplished, some of which actually shows when photographed.

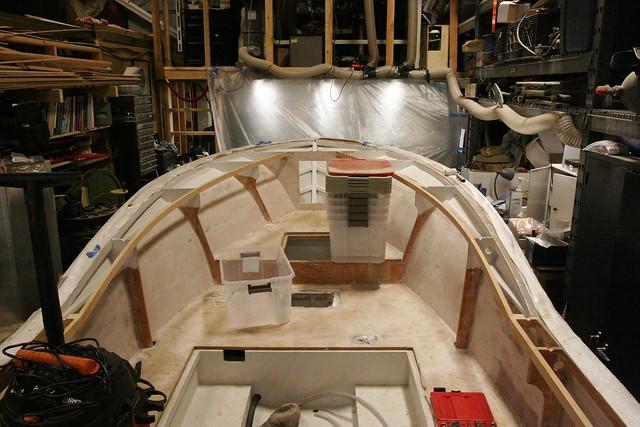
First off, I’ve cut the opening for the anchor locker door and applied InterProtect 2000E to the anchor locker, as well as the hidden portions of the hullsides far enough up that we didn’t bother to fill them with balsa.  While I was at it I did the tops of the frames since the teak covers won’t extend very far above the bottom of the inwales.

Untitled

Sorry about the curiously placed plastic crates in that photo. I got them down for a friend that wanted to use one and didn’t have it in me to climb back up and put them away at the end of the day.


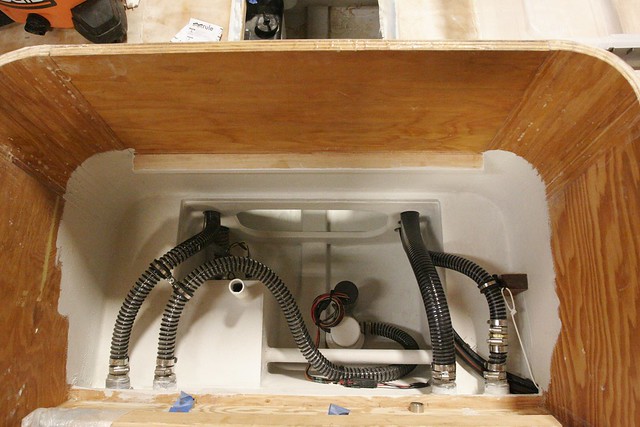
I’ve also … finally … finished the work in the transom area.  Here you can see the results.  the hose furthest to port (left) is the outlet from the forward bilge hose.  Moving to starboard, we have the outlet from the aft bilge hose, the outlet from the bait tank, and finally the outlet from the sump pump.  To keep things from moving around too much I tied the port side hoses together with clamps.  This made a big difference.  On the starboard side, I actually added a block that I could attach a clamp to for the sump outlet.  I did this because the sump hose is 1″, but the throughhulls I found didn’t come in 1″, only 1 1/8″.  I had to adapt using barb fittings and a short length of 1 1/8″ hose, which means there’s a lot going on there.  I wanted it well supported.*

Untitled

If you look at the starboard side under the throughhull plumbing you’ll see some wiring and hoses that disappear into the corner. That’s the fuel line, the oil line, and the oil level sender cable. They route up through the fillet-chase on the outside of the motorwell. There’s also a piece of leechline tied off to the hose mount. That’s a pull cord in case I ever need to get anything else through that chase.

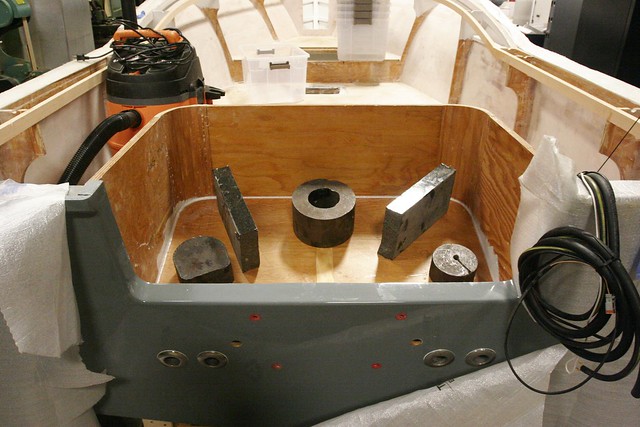
Having now finally finished everything I could think of in the transom area I boldly decided to do something that looked vaguely like progress and I bonded in the motorwell bottom. Here it is with a bunch of steel drops and some scraps of granite holding it down while the epoxy cures. Also to the right in this photo you can see the hoses and wires that are run up the chase:

Untitled

Further progress on the hullsides is somewhat impeded by the varnishing process for the frame covers. I’m still deciding if I want to prime before or after putting those on. In the meantime, the kitchen in my apartment is masked off to try to keep the fumes down while I varnish the covers here. It was just too cold in the shop.

While the varnish is going on – it’s going to take quite a while – I can now begin work on the gunwales and the inner part of the motorwell. I may also take a crack at mocking up the console to make sure I like what I’ve designed on paper.  Would be good to get that in progress sooner than later.

-Ben
 

*Note:  1 1/8″ barb fittings in bronze, brass or marelon are scarce as hen’s teeth.  Originally I used a plastic adapter that’s purpose built for going from 1″ to 1 1/8″, but I got nervous about using plastic since this would be a bear to change later.  (Doable, but annoying.)  I bought a 1-1/4″ threaded barb fitting in brass and turned the threaded end down to a barb I could get into the 1″ hose, and the 1 1/4″ end down to a 1 1/8″ barb and used that instead.  I feel better now.

Painted and rolled. Yee haw.

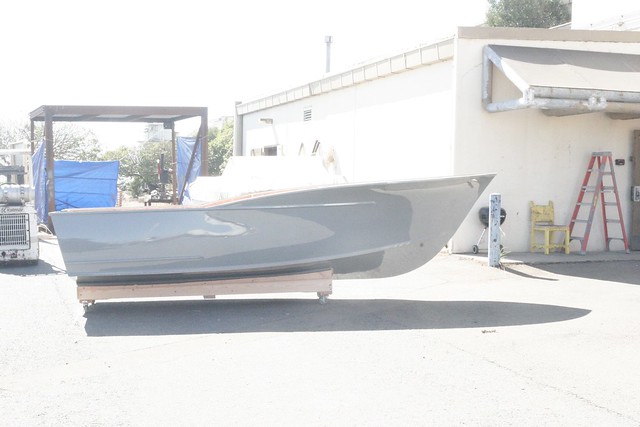
The guys I hired to paint the boat did a great job prepping it, but the painting didn’t go as well as we wanted.  We ended up with a few too many sags, some weird swirl marks that I think had something to do with the wipedown solvent they used, and a fair bit of dirt and bugs in the paint.  Sooooo… We did it twice.  The second time went MUCH better, and while there are still a couple of minor sags and a few fish eyes, it’s damned good.

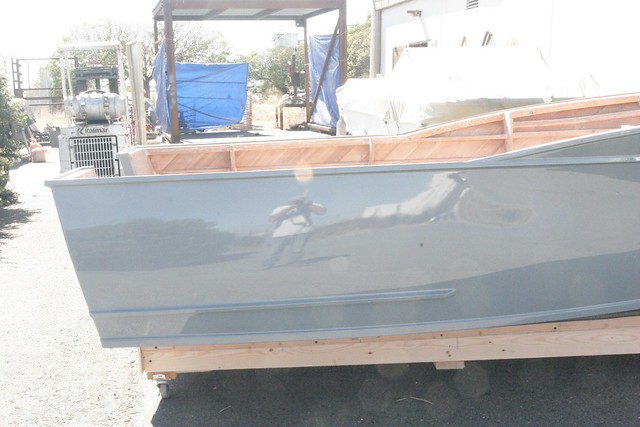
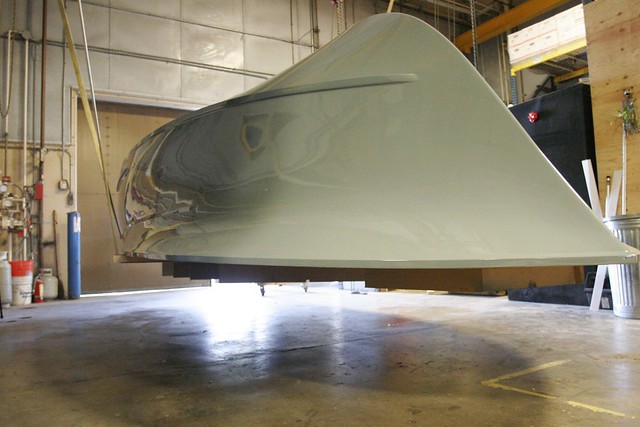
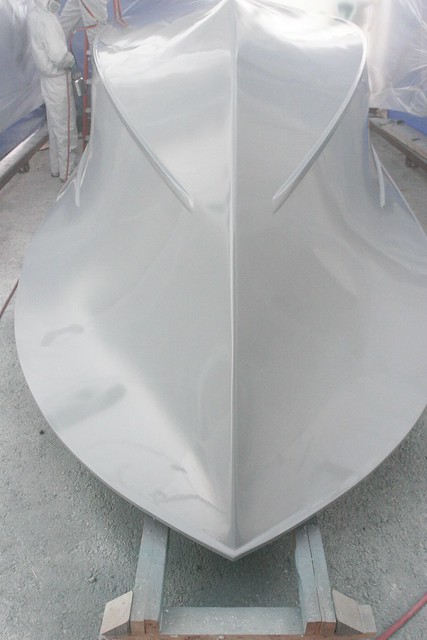
Here you can see by the reflection that the hull came out really fair. It was worth all the sanding. There are, of course, places where it’s not perfect, but I’m very happy.

Untitled

Here are a few more shots:
Untitled
Untitled
Untitled

You may be saying to yourself: “Wait a second. That boat is right side up now. It was upside down in the last photos.”

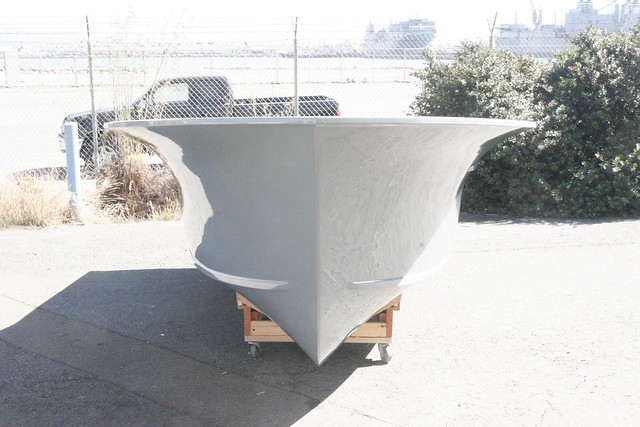
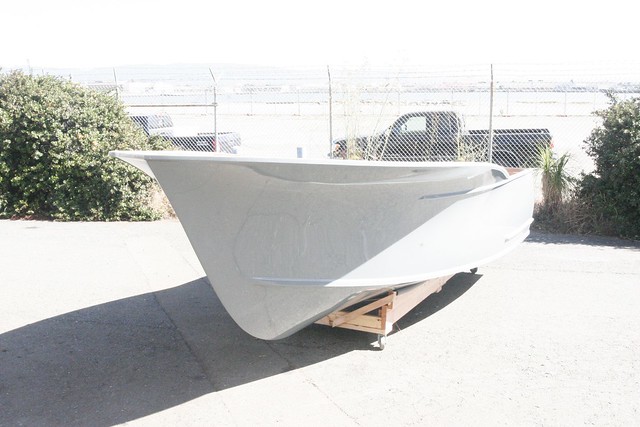
And if you’re saying that, you’re right. After the first paint exercise, we decided to turn it over before shooting the do-over coat. The bottom (below waterline) parts were actually fine, and don’t much matter aesthetically. And that big bow flare just catches dirt as it settles. So we wanted to do the do-over right side up.

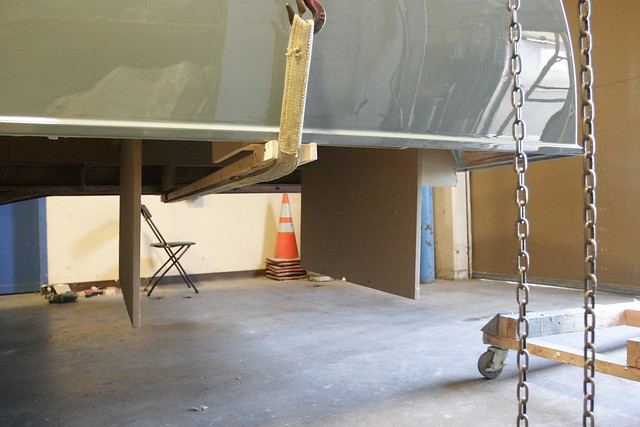
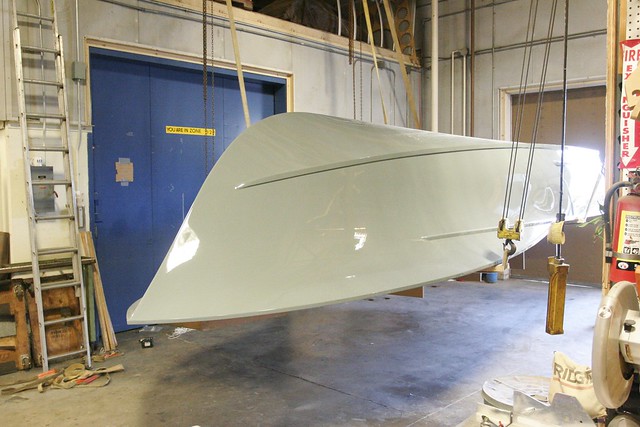
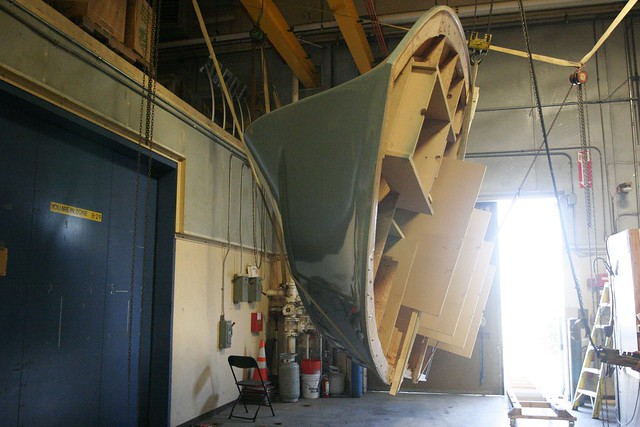
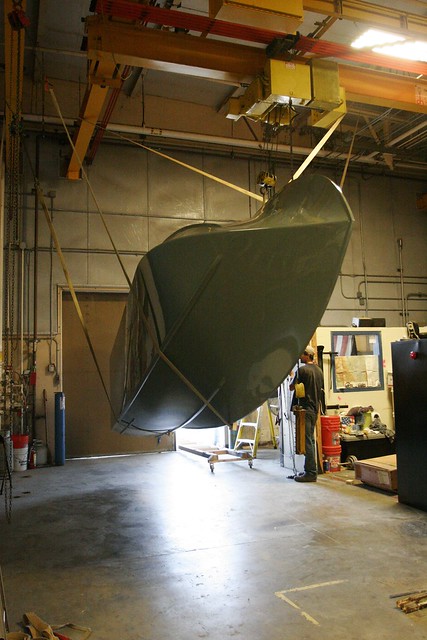
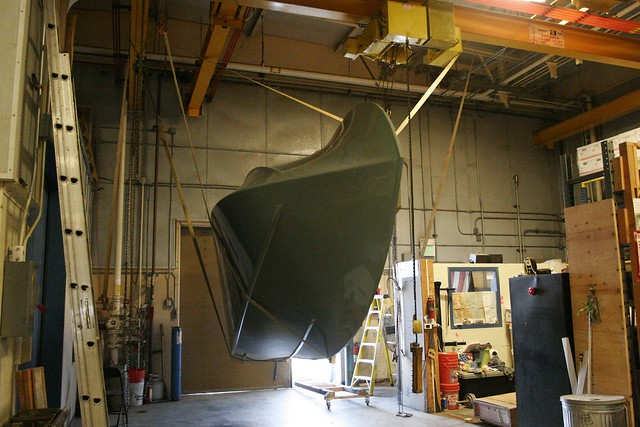
Flipping it was an interesting exercise.  I rigged three chain hoists from the ceiling / crane beams, and used the crane for the fourth lift point.  Then I hung two lift straps – one forward and one aft – between each pair of hoists, and positioned the hoists so those on the port side were at full retract and the starboard were at full extend.  Then I just ratcheted in the long ones and let out the short ones, and as the straps moved they rolled the boat with it.  Photos:

Untitled
Untitled
Untitled
Untitled
Untitled
Untitled

Today we cleaned up the paint area, and moved the boat back inside.  She’s ready and waiting for interior fitout.  Exciting stuff.

-Ben

I’m still sanding……

Since I own a larger boat – a vessel I prefer to refer to as a “boat,” not a “yacht” – I’m often asked what the difference is between a boat and a yacht.  I didn’t have a good answer until recently.  But now I can definitively and without irony declare:  Sanding.

Getting a defect-free, yacht-quality finish requires hours and hours of sanding, none of which is really necessary for a “boat” to do its job on the water.  It’s purely an aesthetic conceit.  But after putting so much work into building the boat, I want it to look GOOD!  And so…   Sanding.

When I got back from Tuscany I set to work sanding the coat of primer I applied prior to my departure.  Sadly, what this revealed was that there was still enough variation in the surface that I’d go completely through the primer in some places before I got rid of all the orange peel in others.  The variation was enough that I didn’t think we’d fill it with just a couple of coats of the 545, so I bought some AwlGrip High Build and had my friend Chris shoot two heavy coats of it across the entire hull.

I then blocked this off using the stroke sander where possible, and manual sanding blocks in the really curvy parts, and was able to get to a fair surface with only a few places where I went all the way to the hull.  Good enough!

Untitled

The transom and rear quarter areas were the least fair, but not bad at all.

Untitled

Along the way, I decided to bring in some sanding help.  This is pretty rough work and it was killing my back.  My dad was away – and frankly I wouldn’t want to subject him to this anyway – so I hired a gentleman from the local boatyard to help.  He’s done some work for me on my big boat in the past and is very talented.

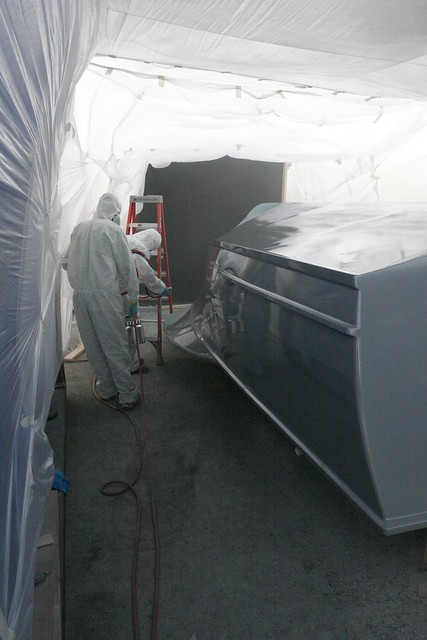
As we were sanding, it became clear that he thought his buddy from the yard – the painter from the yard … who shoots AwlGrip all day, every day – would probably be interested in a side job shooting the boat.  Chris had been a bit nervous about shooting the AwlGrip since he’d never worked with it before and didn’t want to screw up on something that had this much prep into it.  We agreed that they’d both come by the following afternoon to take a look at it.  In the meantime, I finished blocking out the High Build, and by the time the guys showed up she was ready for finish primer.

After a little dancing around the issue, we agreed that they’d shoot the primer that afternoon (Monday), come back in the afternoons this week to sand it off and prep for topcoat, and then shoot the topcoat on Saturday.  This will be the first work I’ve “hired out” on this job, and I was a little hesitant about it, but honestly painting is one of those things that demands a lot of expertise – which comes with practice – and I wanted it right.  Unfortunately, it’s not cheap, but I’m off to a wedding this morning, and when I get back to Alameda on Monday my boat will have a professional, high gloss finish.  I’m thinking it’s worth it.

Here they are shooting the primer.
Untitled

I’m really happy with how fair she looks with a glossy coat of wet primer on her.  There are a few spots that have minor waves to them, but they’re the kind of thing that the builder notices because he’s run his hands over the boat 1000 times, but nobody else is likely to see.  It’s mostly in the rear quarters where the glass tape didn’t get completely faired in, and a little just under the sheer guard where it’s tough to sand smoothly.  For a first effort at building a boat, I’m ecstatic.

Untitled

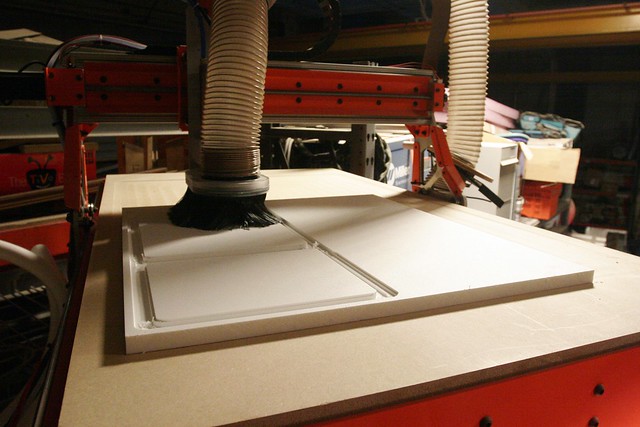
Anyway, while the painting is happening I’ve been working on some CNC-cut Starboard cabinetry for the leaning post.

Untitled

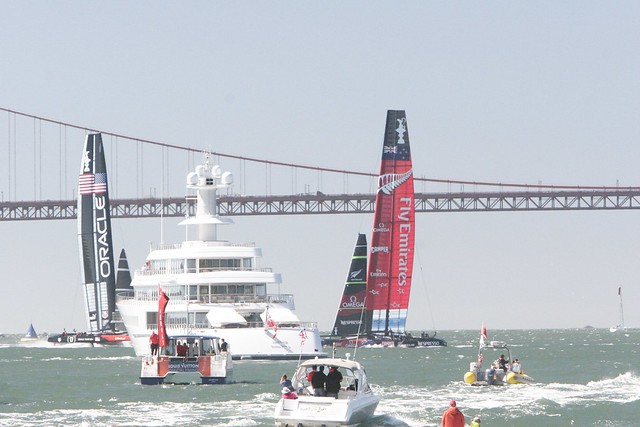
Oh, we also took a day off to run out in the big boat and watch the America’s Cup final.  Pretty amazing sailing.  Those boats are FAST!

Untitled

That’s it for now.  Come Monday, I should be able to share photos of a glossy, painted hull ready to be turned over and wheeled back into the shop for the inside to be finished out.  I can’t wait!
-Ben

Primer. For real!

Hello from Tuscany!

Another long delay since my last post.  A thousand apologies.  I was extremely busy trying to get to a point where I could take a week off, and then for the last few days I’ve been in Italy.

Since our last update, the focus has been on continued fairing.  Lots of sanding and filling and rubbing with hands, looking for high and low spots.  As it turns out, one of the best ways to tell if something is fair is to close your eyes and run your hands over it feeling for places where things have unexpected bumps or depressions.  Your hands are very sensitive instruments.

I’ve pretty much concluded that the fairing process could continue for as long as one wanted it to.  There’s always something that could be slightly better.  But eventually you reach a point of diminishing returns and call it done.  We have reached that point!

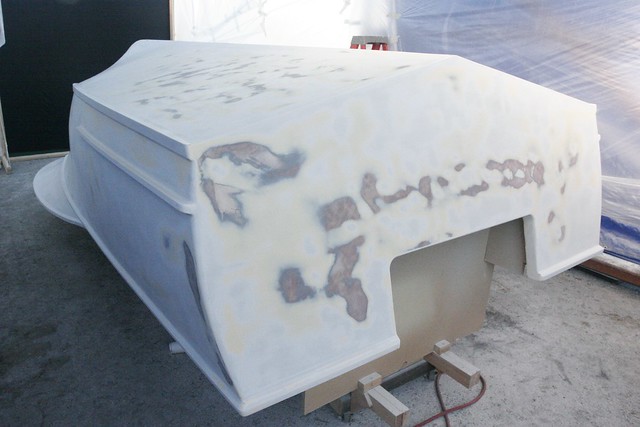
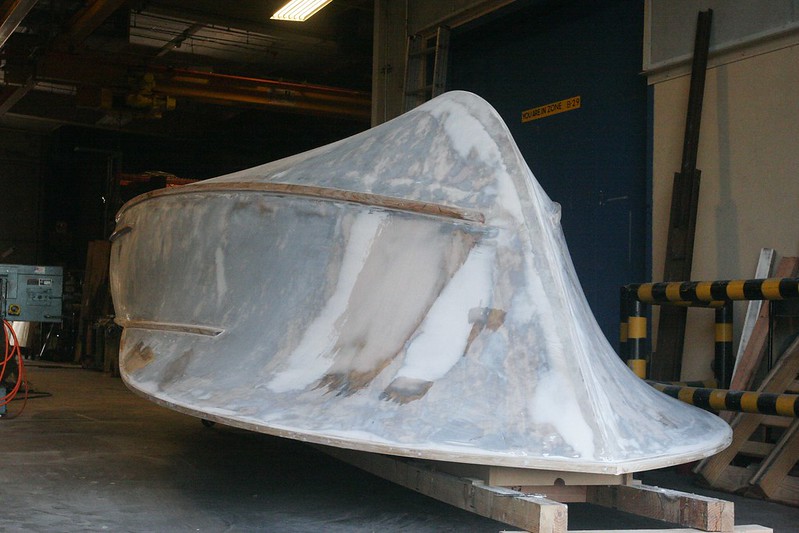
Interestingly, near the end of the process I discovered a rather large area that I hadn’t noticed previously because it was a macro fairing problem, not a micro one.  If you look at this photo, the starboard bow has some large patches of compound on it.  Would have been a bummer to miss that.  Under glossy paint it would have been really obvious.  Unfortunately, the thing that ultimately helped me discover the issue was that in one spot I ended up sanding through the first axis of the glass.  This is a really strong part of the boat anyway, and the issue was very near a bunch of framing on the backside, so I’m not worried about it.  But it’s one of those “doh” moments that – were you to build another boat – would be a good lesson for next time.

We also had to do a bunch more detail work to get the trim all smoothed out and faired in.  This is a tedious process, but an important one.

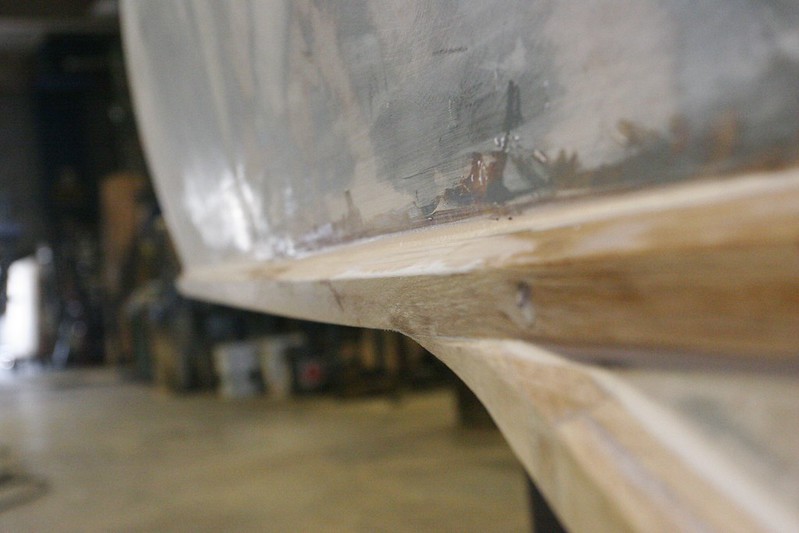
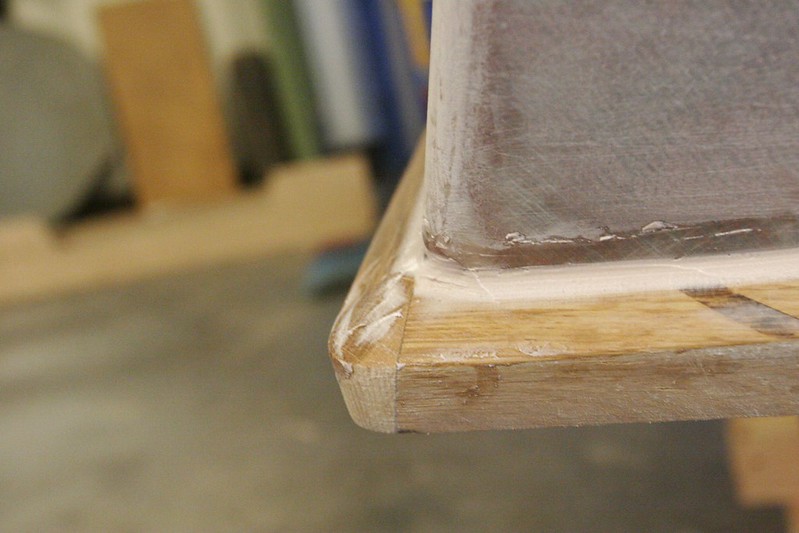
The sheer guard needed to be continued around the transom.  This proved to be tricky because the angles of the boat beneath change abruptly and then the profiles don’t line up anymore.  I cut some wedges from the oak and glued them to the back of the two transom trim strips to help get better alignment.  Then I bonded them to the transom leaving a 90-degree gap at the corners and filled the gap with a block of oak that was shaped to the appropriate transition profile after the epoxy cured.  The junctions to the hull were all filleted and sanded smooth.  This photo is post-fillet, pre-sand.

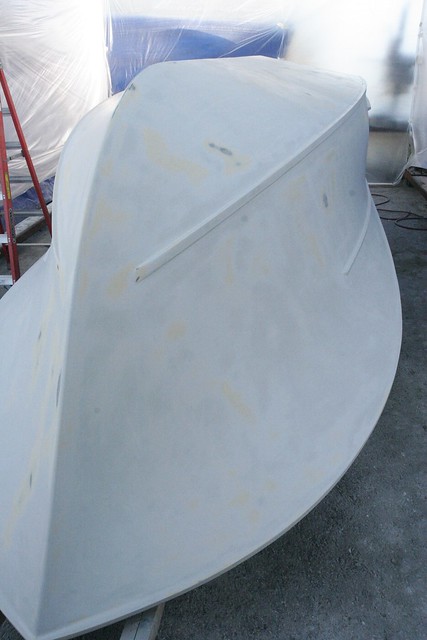
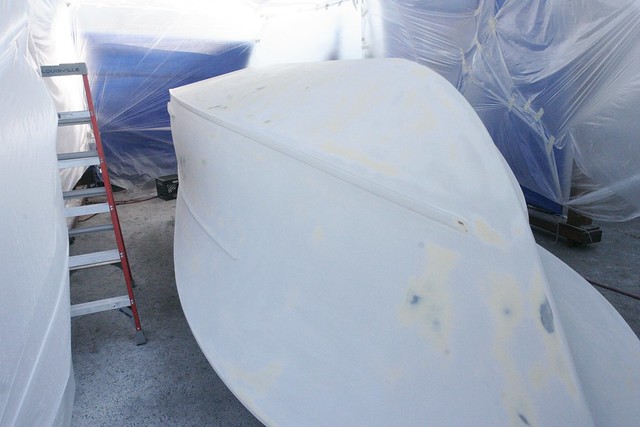
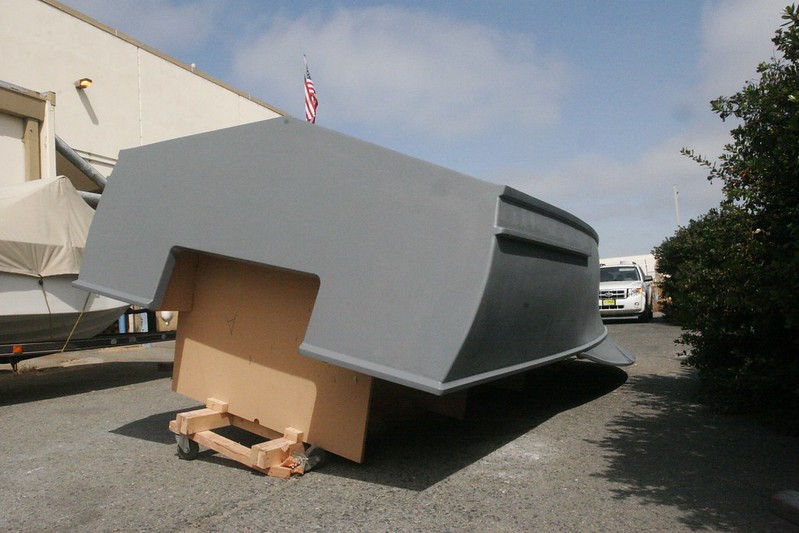
After all the sanding, I finally decided we were in shape to apply a first coat of primer.  The primer – gray AwlGrip 545 – was applied in a heavy coat with a roller.  After it was cured I pushed it outside to tarp it for the week while I was gone.  I didn’t take pictures inside because I figured it would be better to do so in the light, but due to a minor distraction didn’t end up taking good shots of the primed boat.  The distraction?

CATASTROPHIC FAILURE!

This strongback was never really built as a rolling dolly.  Initially it was on the ground, and then I took a set of (likely under-rated) casters and bolted them to the bottoms of the longitudinal members so I could move her a few feet back and forth around the shop.  This was fine.  When we then pushed it outside, the longitudinal members started to “fail” by rolling side to side.  To address this I re-mounted the casters on 2x4s and screwed these to the bottoms of the frames so the twisting force wouldn’t act on the strongback.  Unfortunately, it was too much for this 2×4.  It cracked when the wheel hit a bump in the road and the whole boat nearly rolled over.  It came to rest about 1″ from contacting the ground, so no major harm was done, but it was a heart-stopper.  I mounted the casters to a 4×4 and attached that with some flanking gussets to keep the 4×4 from rolling over, but clearly this is not a good long-term solution.  I’ll need to address that when I get back.  Interestingly, the boat actually moved on the strongback – if you go back and look at the early pictures you can see that the stringers just sit in slots in the MDF, and on the starboard side they’re now a few inches above the bottom of the slot.  This won’t affect us in the near term, and once she’s painted she gets turned over anyway.

After the crisis was resolved, I wrapped her in a tarp and headed to the airport.

Next week we sand this coat of primer, look it over and fill any pinholes or depressions that became evident once the primer went on, and then put on a couple of coats of white primer.  This all then gets sanded to about 320 or 400 grit and then we paint.  I’m hoping the paint is done by the end of next week, but if history is any guide it will take longer than anticipated.


-Ben