The hull is now fair enough that it doesn’t make sense to take it any further without first putting on the exterior trim. The “trim” is a collection of boards that guard the hull, deflect spray downward, and add to the aesthetic qualities of the boat. It also serves to add significant effort to the overall boat construction process, right at the point you think you’re close to getting it painted and turned over.
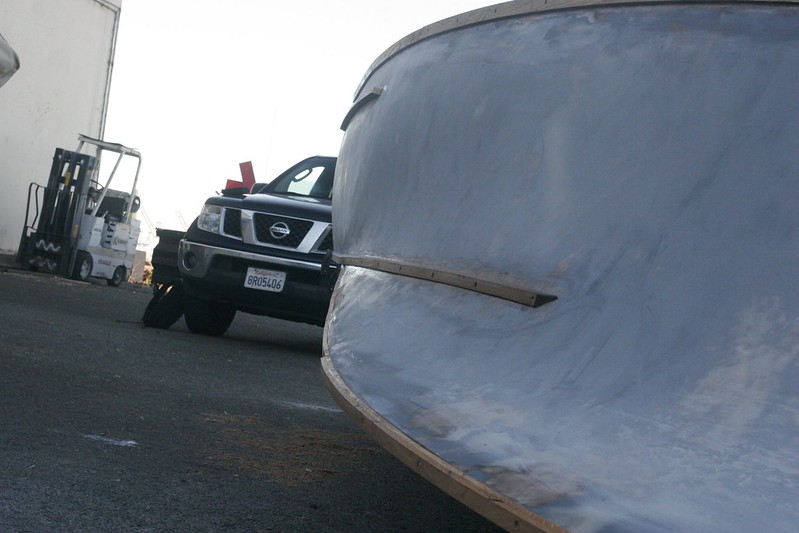
I’ve chosen to construct these trim boards from white oak because it’s hard and strong. As mentioned previously, the primary purpose of these boards is to protect the hull, and so they’ll be subject to significant abuse over the life of the boat. Oak is up to the task. My dad and I spent a couple of hours on the planer and table saw to shape a number of 4/4 planks down to the appropriate profiles. This is actually pretty tricky woodworking. Some of the boards are angled on three sides, and the forward sheer guard – which is angled on two sides – needs to be laminated from two layers to make the bend. To make the two-piece boards we created two strips that are half the width of the finished plank and bonded them together with double-sided masking tape. Then we cut the profile and pulled them apart. The two pieces could then be bent around the boat and glued back together.
Here she is after the bulk of the trim is installed.
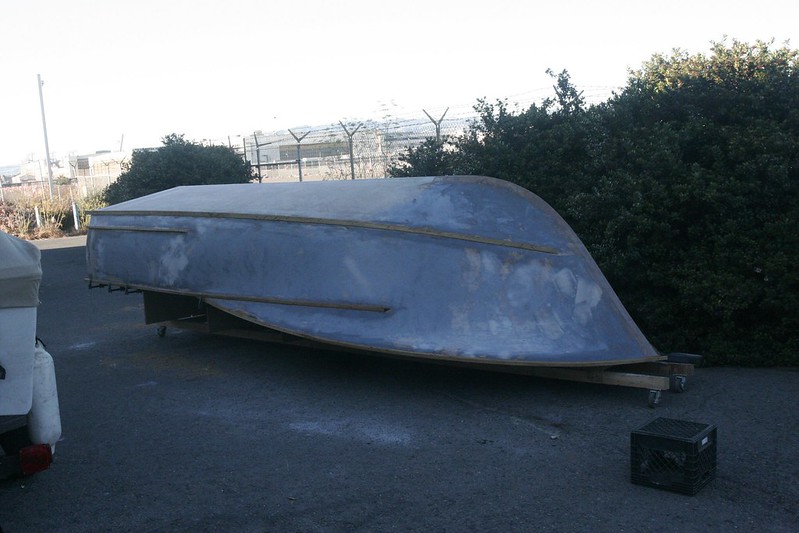
Note that the wood will eventually be faired into the hull, primed and painted, so it won’t contrast as much as it does in these pictures. But everything except the spray rail gets covered in ($25/ft) stainless trim, so there will be a strong visual component to these pieces.
This is one of the first parts of the project where I’m somewhat dissatisfied with the result. The line formed by the aft sheer guard and extending forward into the hullside rubrail isn’t as straight as I’d like it. It’s just really tough to get a board attached to a surface that twists as much as this hull does to lie straight. I think if I had this to do over I would have come out at night when the light was low and used a laser level to scribe a straight line on the hull. Live and learn. You can see in this photo the less-than-straight line.
I doubt anyone will notice it but me – and devoted readers of this blog – but I hate visible mistakes and it bothers me.
Anyway, the next step is fairing all these boards in so the transitions are smooth, and then doing the final fairing before priming and painting. It’s so close I can taste it.
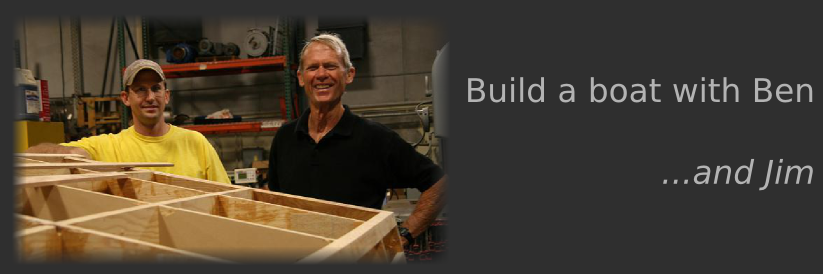
-Ben