
By far the most exciting development of the past days is that the teak covers for the plywood frames are assembled and sanded, and as of this evening have a few coats of varnish on them.
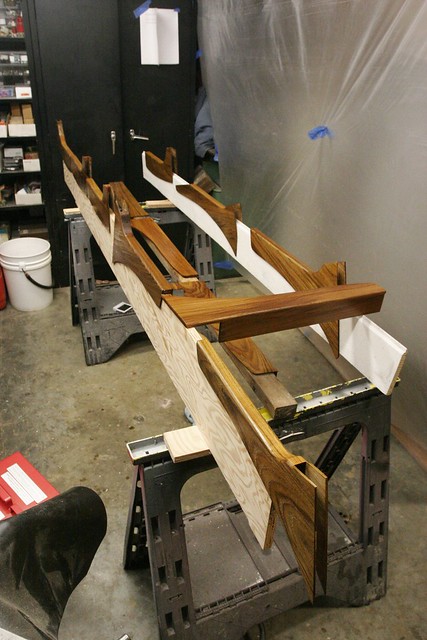
I did two fast coats thinned to 50% with brushing reducer, and then one coat of full strength varnish. The thinned coats (a) dry a bit faster so you can overcoat more quickly, and (b) absorb a bit more deeply to penetrate and seal the wood. At this point we’re just going for grain fill so the name of the game is to get as much material applied as fast as you can without it alligatoring when it dries and/or running too badly. It’ll all get sanded (a lot) soon anyway, so it doesn’t have to be amazingly smooth or well applied. We’re just filling grain.
I’ve decided to go with AwlGrip’s “Ultimate Brightwork System.” This consists of a lighter than normal application of spar varnish using AwlGrip’s AwlBright, followed by a whole lotta AwlClear clear polyurethane. On other projects I’ve always used Epiphanes spar varnish, but I’ve heard good things about the AwlGrip system so I’m giving it a try.
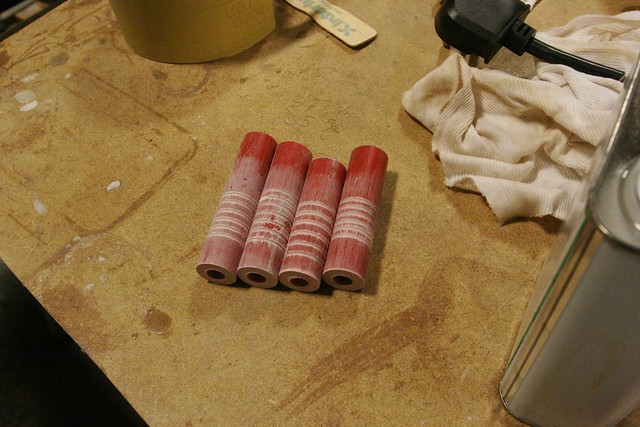
Other progress includes the installation of fiberglass bushings to better protect the wood of the transom from the stresses of the motor bolts. As I think I said before, I was originally planning to just put some sealant around the holes and call it a day, but at Timm’s recommendation I’m getting fancier. I ordered some 1″ fiberglass rod from McMaster and cut four pieces of the approximate length required to pass through the transom fully. These went into the lathe and got center drilled. While I was at it, I added a few randomly located “gouges” to them so there was something meaty for the epoxy to bind to when they were bonded to the transom.
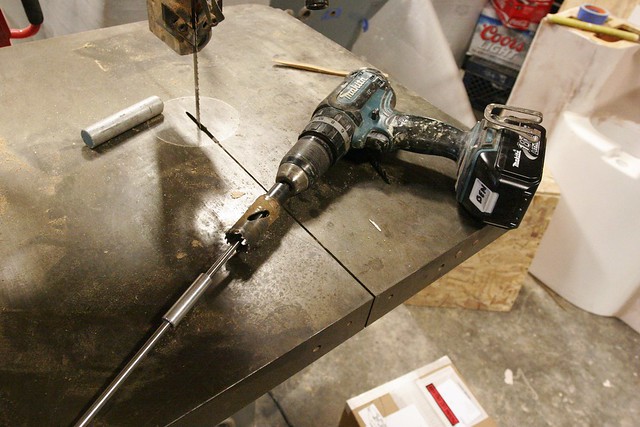
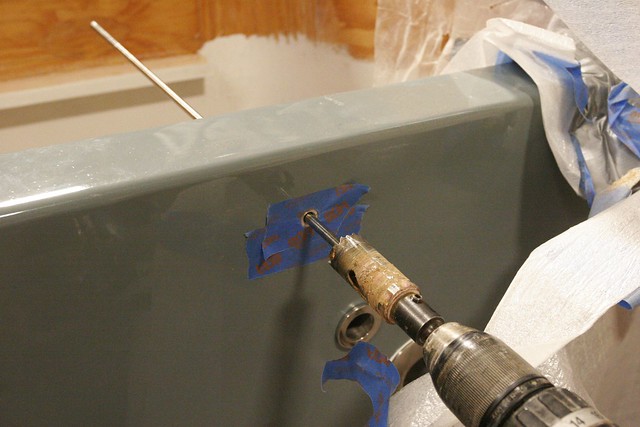
Then I had to drill out the existing 1/2″ holes to the new, 1″ diameter. I was worried about relying on a standard 1″ drill bit to self-center on the 1/2″ hole, so I quickly fabbed up an aluminum drill bushing that was 1/4″ ID by 1/2″ OD. This went in the existing holes, and guided the 1″ hole saw in my now-proven method of using a 1/4″ piece of stainless rod as a guide in place of the normal 1/4″ hole-saw pilot bit.
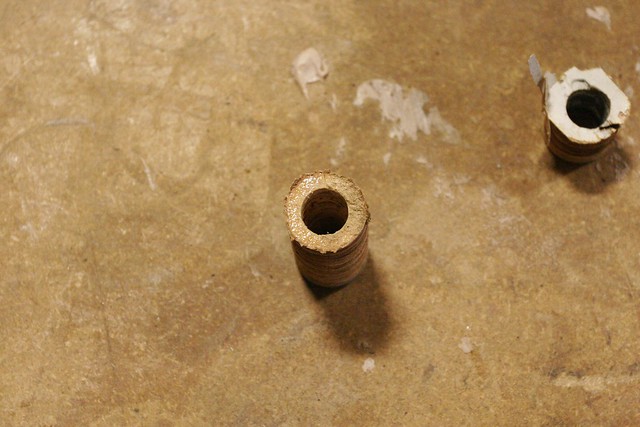
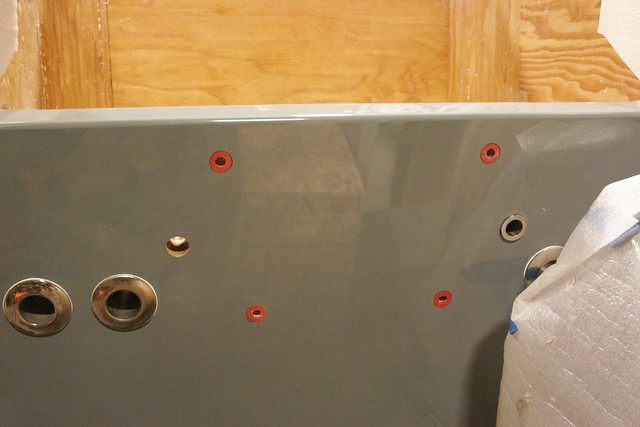
Using this approach allowed me to get the 1″ holes quite concentric relative to the original ones, as the photo of the plug (below) shows.
This might help to visualize the strategy a bit better:
Once the holes were drilled, it was pretty straightforward to bond in the bushings:
Theoretically, once this is all cured I should have no worries at all about water getting into the transom around the motor bolts.
Now that this is done, I can put the bottom in the motorwell and start finishing it out. And there’s more varnish to apply. And… Well, there’s still lots to do.
-Ben