We’re at the point with this project where there are lots of little details to sort out. You bust ass all day feeling like you’re doing stuff, but at the end of the day the boat still looks pretty much the same. Sigh…
That said, there has been a bunch of stuff accomplished, some of which actually shows when photographed.
First off, I’ve cut the opening for the anchor locker door and applied InterProtect 2000E to the anchor locker, as well as the hidden portions of the hullsides far enough up that we didn’t bother to fill them with balsa. While I was at it I did the tops of the frames since the teak covers won’t extend very far above the bottom of the inwales.
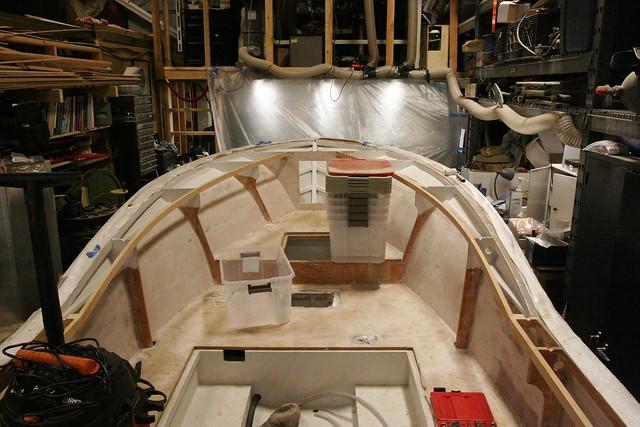
Sorry about the curiously placed plastic crates in that photo. I got them down for a friend that wanted to use one and didn’t have it in me to climb back up and put them away at the end of the day.
I’ve also … finally … finished the work in the transom area. Here you can see the results. the hose furthest to port (left) is the outlet from the forward bilge hose. Moving to starboard, we have the outlet from the aft bilge hose, the outlet from the bait tank, and finally the outlet from the sump pump. To keep things from moving around too much I tied the port side hoses together with clamps. This made a big difference. On the starboard side, I actually added a block that I could attach a clamp to for the sump outlet. I did this because the sump hose is 1″, but the throughhulls I found didn’t come in 1″, only 1 1/8″. I had to adapt using barb fittings and a short length of 1 1/8″ hose, which means there’s a lot going on there. I wanted it well supported.*

If you look at the starboard side under the throughhull plumbing you’ll see some wiring and hoses that disappear into the corner. That’s the fuel line, the oil line, and the oil level sender cable. They route up through the fillet-chase on the outside of the motorwell. There’s also a piece of leechline tied off to the hose mount. That’s a pull cord in case I ever need to get anything else through that chase.
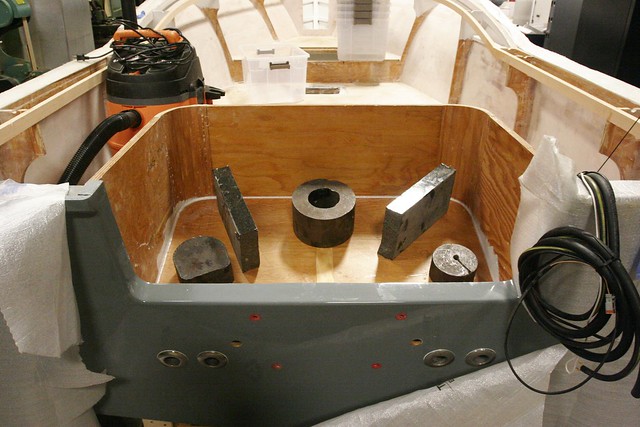
Having now finally finished everything I could think of in the transom area I boldly decided to do something that looked vaguely like progress and I bonded in the motorwell bottom. Here it is with a bunch of steel drops and some scraps of granite holding it down while the epoxy cures. Also to the right in this photo you can see the hoses and wires that are run up the chase:
Further progress on the hullsides is somewhat impeded by the varnishing process for the frame covers. I’m still deciding if I want to prime before or after putting those on. In the meantime, the kitchen in my apartment is masked off to try to keep the fumes down while I varnish the covers here. It was just too cold in the shop.
While the varnish is going on – it’s going to take quite a while – I can now begin work on the gunwales and the inner part of the motorwell. I may also take a crack at mocking up the console to make sure I like what I’ve designed on paper. Would be good to get that in progress sooner than later.
-Ben
*Note: 1 1/8″ barb fittings in bronze, brass or marelon are scarce as hen’s teeth. Originally I used a plastic adapter that’s purpose built for going from 1″ to 1 1/8″, but I got nervous about using plastic since this would be a bear to change later. (Doable, but annoying.) I bought a 1-1/4″ threaded barb fitting in brass and turned the threaded end down to a barb I could get into the 1″ hose, and the 1 1/4″ end down to a 1 1/8″ barb and used that instead. I feel better now.