In candor, I didn’t think many people bothered reading these updates. Seems I was wrong. Go a month without posting anything and people come out of the woodwork wondering if you’re still alive.
I assure you, we are.
And we’ve been busy.
In our last installment, you saw the beginnings of the scupper/sump system. Once the plywood “box” was built, it was bonded and glassed to the port aft corner of the bilge, and holes were bored to enable the routing of two pieces of fiberglass pipe from the collector cups to the sump. At present, there’s no lid on the box, but ultimately one will be fitted, and it will include a vent so that the system doesn’t air lock.

Next, we went to work on the access hatch that permits servicing the sump, and that mounts the float switch. It also has cable glands to permit the wiring to the switch to exit the box. You’ll recall that I started with a SeaBuilt 6″ access plate. I took this to the Bridgeport and, using the DRO to get it all lined up nicely, drilled six holes. Two permit mounting the switch, and the other four are for the cable glands. The glands require a 1/4″ NPT threaded hole, so I first drilled pilot holes, and then finished with the appropriate size drill for a 1/4″ NPT tap.
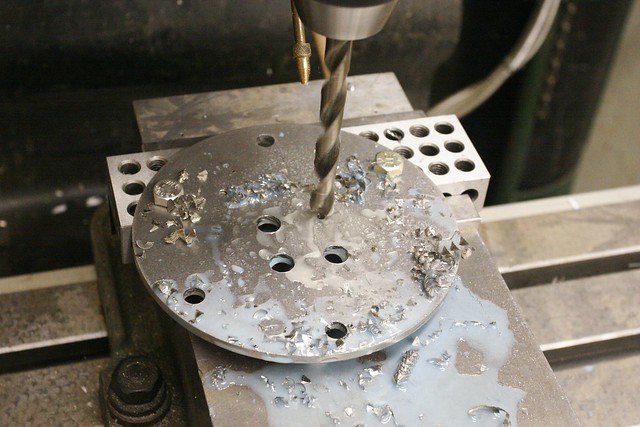
Then I tapped the holes using a manual tapping tool, but on the Bridgeport to provide a secure clamping surface.

The glands are IP68 rated so they’ll be fine if the box fills up for an extended period of time.
Once this was done, it was time to start preparing to lay down the boat’s deck. Before that happens, we needed to:
- Run a rigging chase from the console area to the machinery space.
- Foam the floatation areas
- Prep and paint the “man accessible” areas of the bilge
- Install the pumps and plumbing
- Prepare the deck panels by installing the gutters and painting the undersides
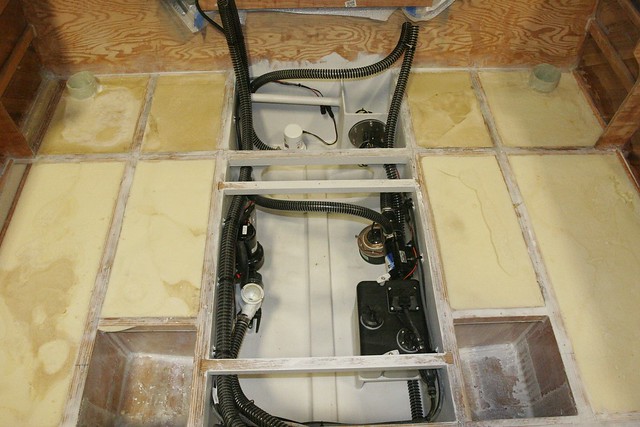
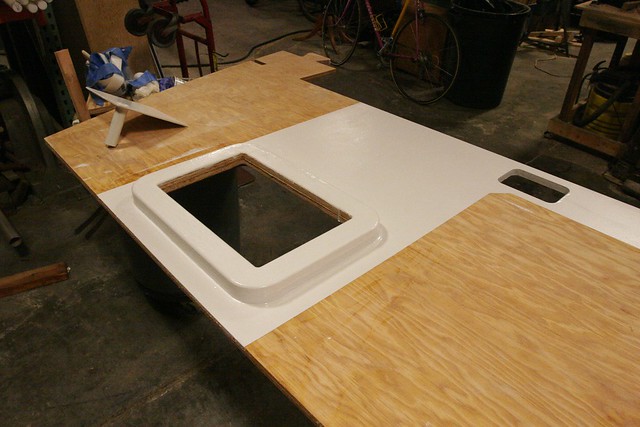
We kinda blew through this without stopping to take many pictures, but here’s a good shot showing the aft areas ready for the deck to be installed. If you look closely, you can see that access plate we machined installed in the (still topless) sump. There’s a bilge pump aft, a washdown pump on the starboard side, a bait pump in front of that, and on the port side there’s an oil reservoir for the motor forward, with a macerator pump connected to the sump aft of it. Beneath the macerator is a 1kW throughhull transducer for the sonar.
Up front, I installed a drain in the bottom of the anchor locker to allow any moisture that accumulates there to run back through the floatation area to the bilge.
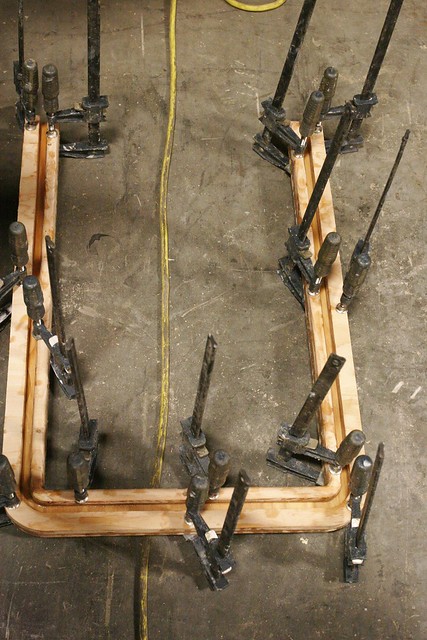
Next up, for each of the hatches we had to lay up the gutter. Each gutter consists of three pieces. Here’s the forward compartment’s gutter, clamped up and curing
Once they were cured, we bonded them to the underside of the deck panels and, because I’m ridiculous, I then painted the “visible” parts white to match the sides and bottoms of the lockers.
Then we put in the deck panels. At least we did the lower ones. The forward ones will go in tomorrow. Unfortunately I didn’t take a picture of this process, but it wasn’t very complicated. I did decide to drive a bunch of bronze screws in to augment the epoxy bond. These are the first fasteners intentionally left in the boat.
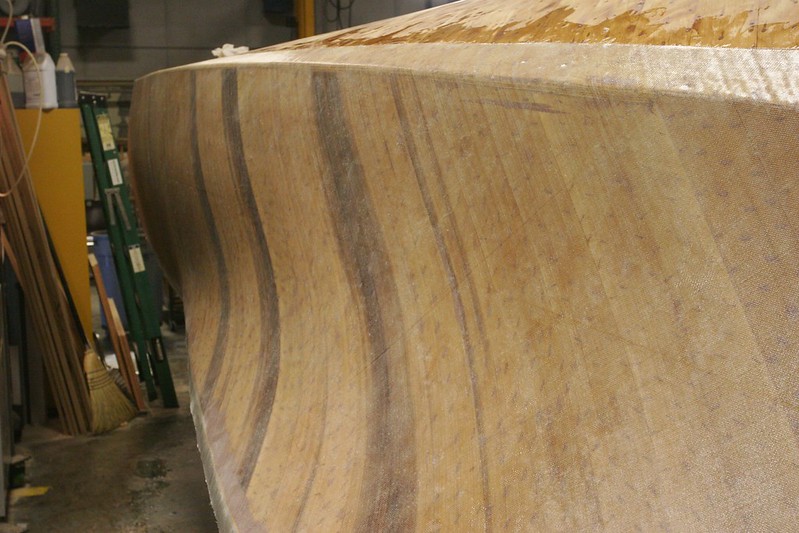
Once the deck was in, we turned our attention to filling the voids between the side stringers. By design, these are left as they are and just sanded and painted. We can do better.
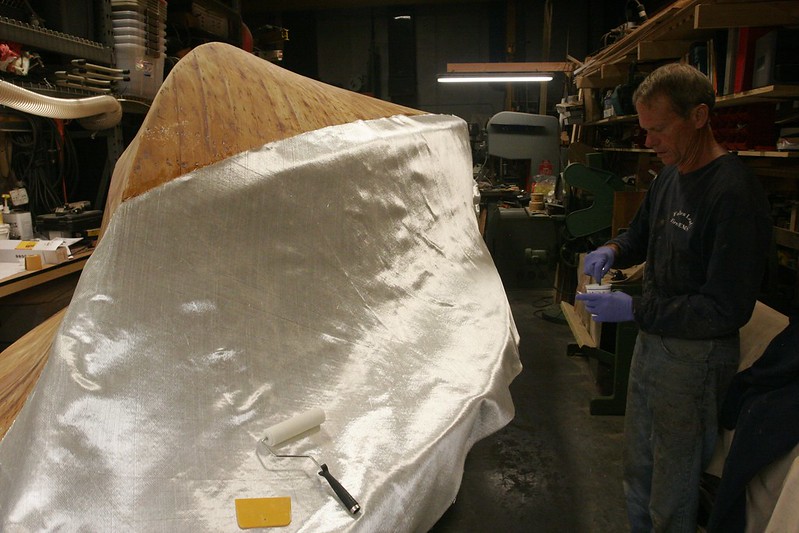
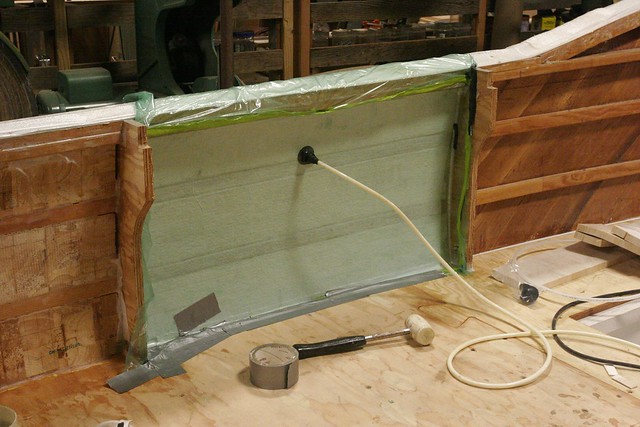
I bought some 3/4″, scored, scrim-backed end-grain balsa panels and we’re bonding them into the gaps. This will then be covered with glass. This is purely an aesthetic endeavor, but it will have the effect of turning the hullsides into a 1.25″ thick cored structure, which will be absurdly rigid and strong. To get the balsa panels properly bonded to the hull we’ve opted to vacuum bag them in place. There’s no way to clamp them without doing this.
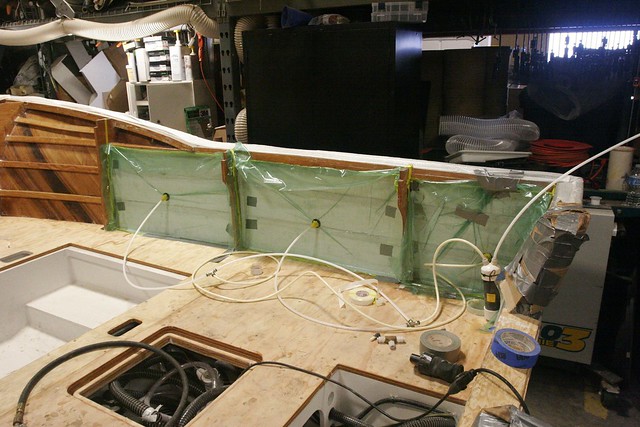
Here you can see, on the left, a section that’s got the balsa installed. On the right is a section being bagged.
Once we got comfortable doing this, we started doing multiple panels simultaneously.
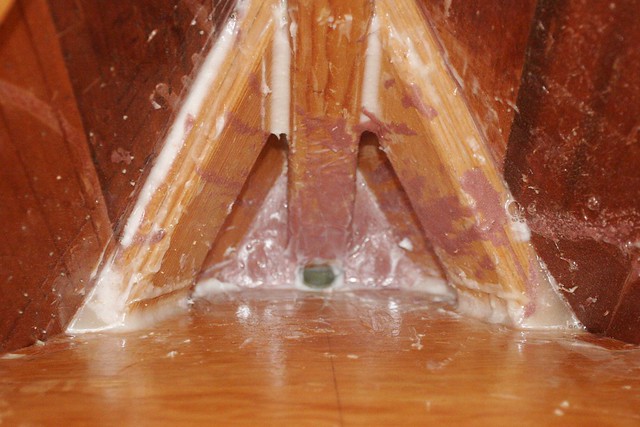
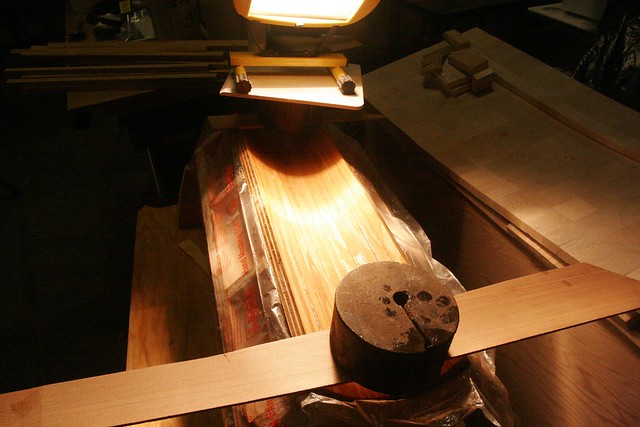
We had to order more of the Stretchlon bagging material from Fiberglass Supply, so we’re currently stuck at the halfway mark on putting in the balsa. Today we filled some of the voids between the frames and the balsa we’ve already put in, and then got to work on the motorwell. Timm’s design calls for the motorwell having either a square corner, or a 5″, 45-degree miter. Both options leave “sharp corners.” We can do better. I CNC’d some quarter-circles with a 5″ radius and cut a bunch of strips of plywood with 3.5-degree angles on each side. Twelve strips of appropriate width can be bonded together to create a 90 degree arc. Here’s the first corner being laid up.
Here it is bonded to the face panel for the motorwell. Note that the “top” part will be trimmed once it’s all assembled.
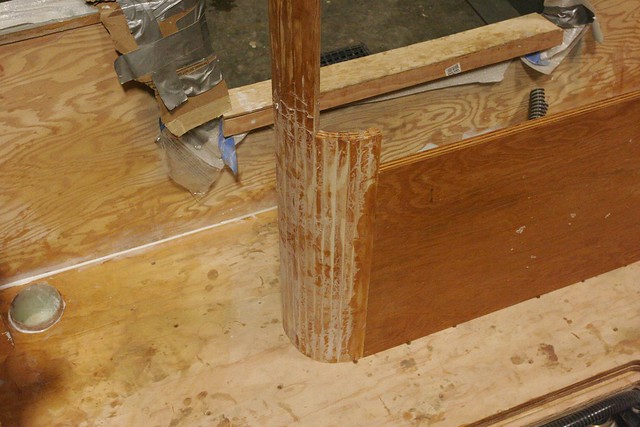
I’m not sure I’m wild about the idea of the top edge of this thing being only 3/4″ thick. I think it’ll look “flimsy” relative to the thickness of the transom. Once I see how it comes together, I’ll probably take 1″ balsa and bond it to the outside before glassing everything. That’ll make it 1.75″ thick, which is more meaty.
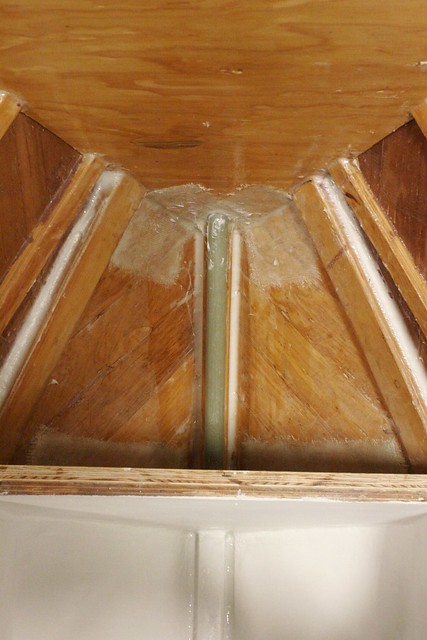
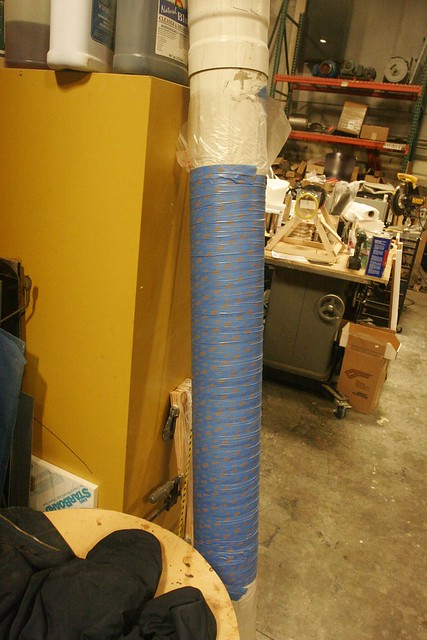
Oh. One other detail. We need a rigging chase to get the fuel and oil lines from the aft part of the bilge up to the underside of the starboard gunnel where they’ll join the steering and electrical connections and be routed to the motor from the side of the motorwell. To do this, I’m creating a hollow “fillet” between the motorwell and the transom. I laid up two layers of 1808 tape over a piece of 6″ diameter PVC pipe, covered it with plastic and wrapped it in masking tape to compress it. Once it’s cured, I’ll cut 1/4 sections of it to create big fillets for each side.
Okay. You’re more or less up to date at this point. I’ll try to be more diligent about updating things. It’s been a grab-bag of little projects so nothing seems worth writing about, but as I type this up it’s clear a lot has happened since I last checked in.
-Ben